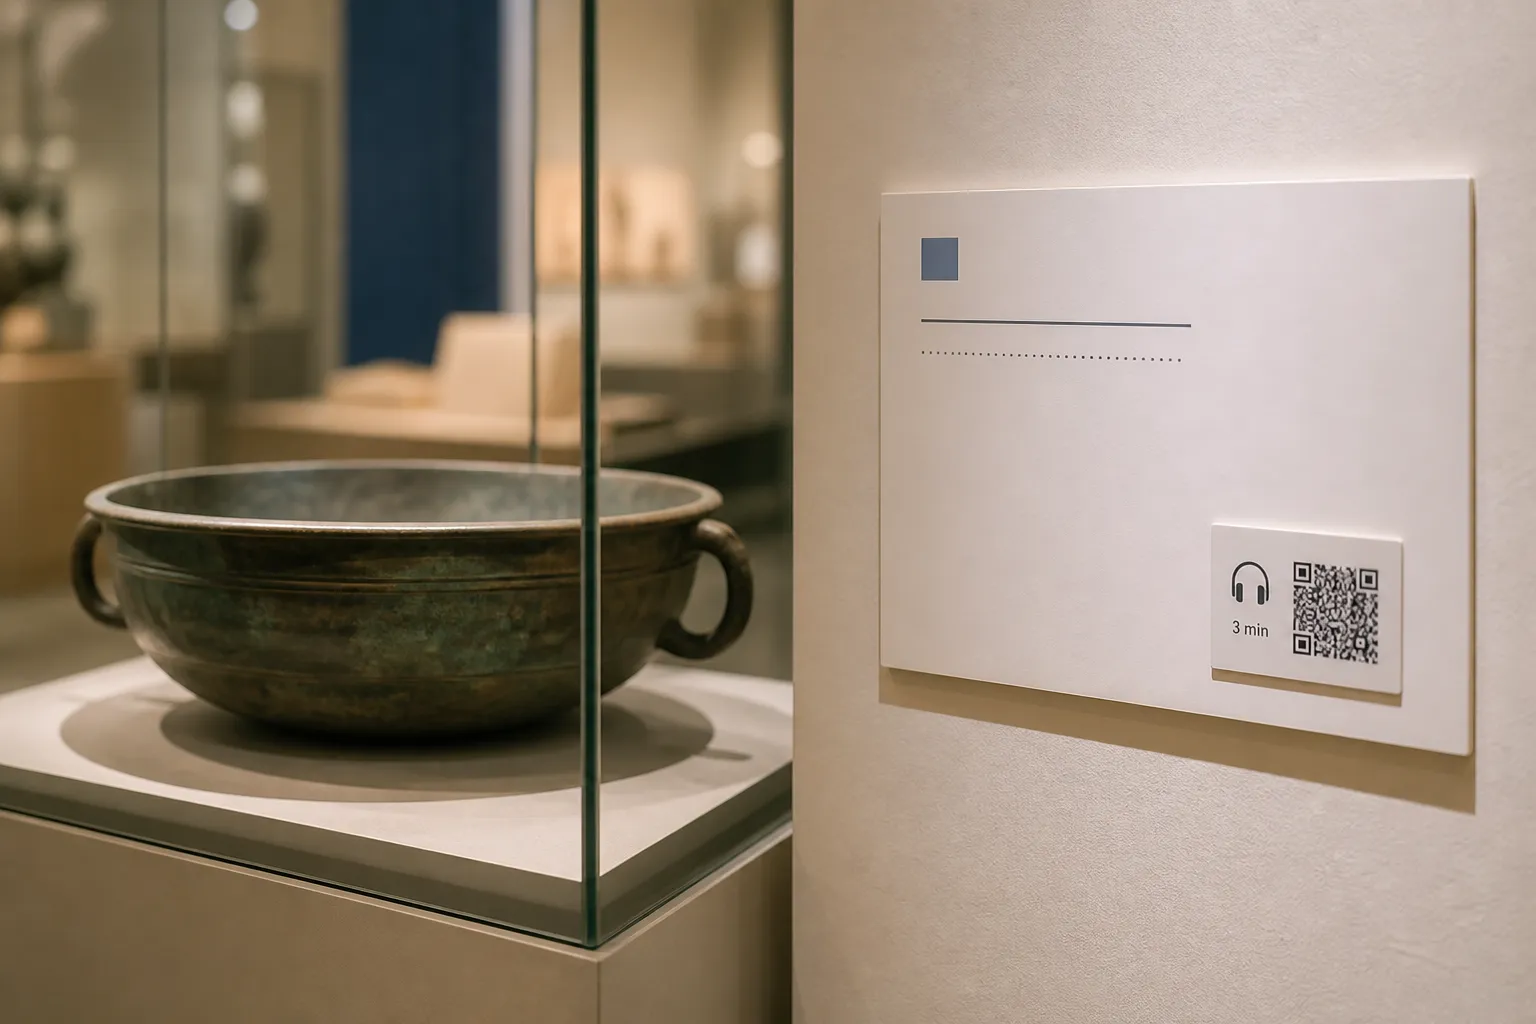
I watched a family stand in front of a 3,000-year-old bronze bowl and never look at it once. The label carried a QR code promising “the full story,” so all three of them scanned, and then spent four minutes hunched over three separate phones in a dim gallery, thumbs scrolling, backs to the object. The bowl waited patiently behind them. Whatever the digital content said, the exhibit had quietly lost the argument: the phone had become the exhibit.
That scene is the trap. A code can deepen a visit or it can steal it. The difference is whether the digital layer stays optional, specific, and genuinely additive - or becomes a tax every visitor feels they must pay.
Keep the object primary
In a gallery, the real thing and the shared physical space come first. Everything about the design of a code should reinforce that, not compete with it. The essential title, date, and a concise interpretation belong on the printed label, readable by someone who will never touch a phone. The code earns its place only when it offers something the label physically cannot: a three-minute audio description, a curator’s extended note, provenance detail, a translation, or captions for a nearby video.
So describe the reward before anyone commits. “Hear a three-minute audio description” or “Read this label in Arabic” tells a visitor exactly what they will get and how long it will take. A bare square promising “more” invites the scroll-and-drift I watched swallow that family whole. State the media length, offer a transcript before playback, and never autoplay sound into a quiet room. Let people control volume, captions, text size, and pace.
Protect the flow of the room
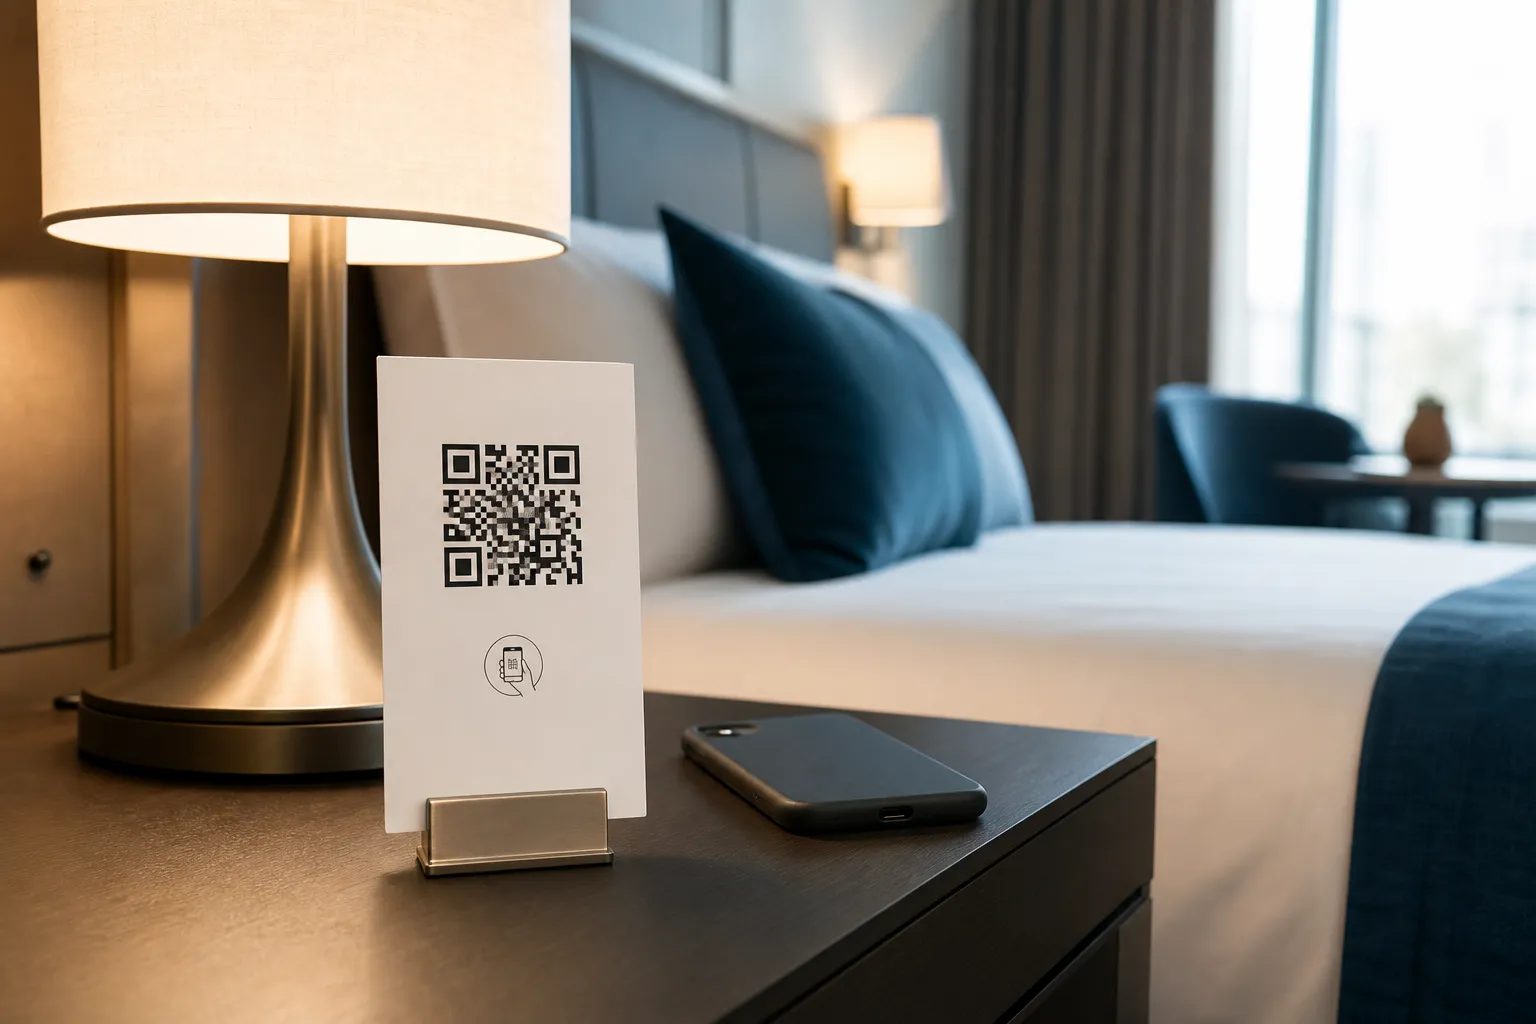
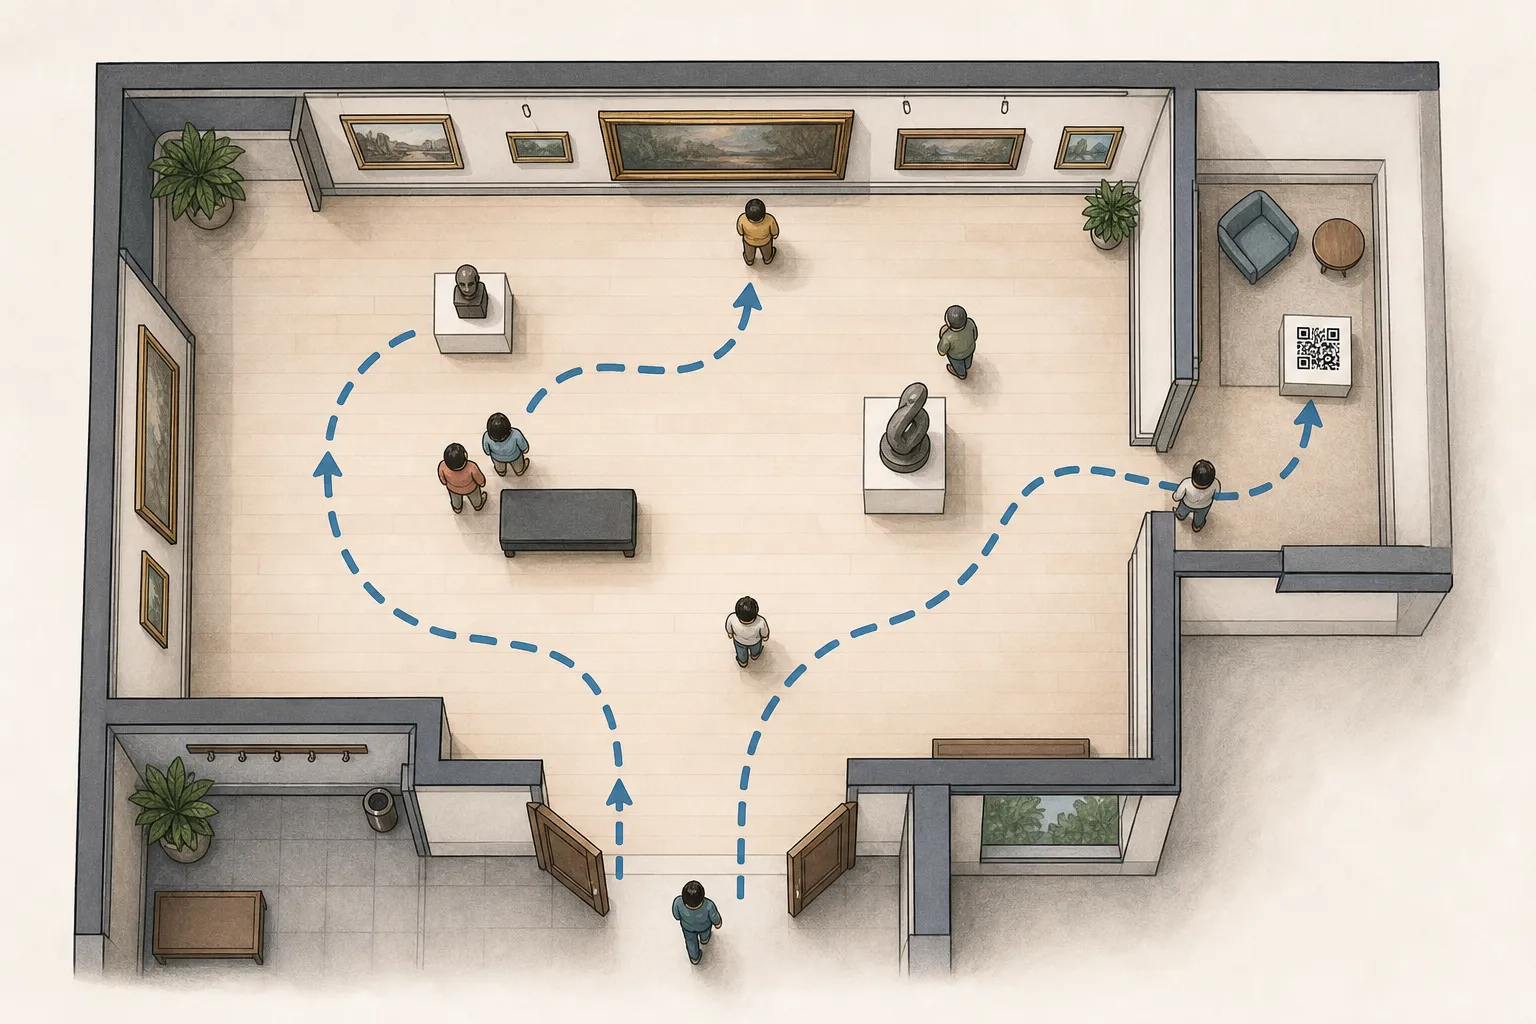
Where you place a code shapes how a gallery breathes. Put one at a pinch point - a narrow doorway, the head of a staircase, the single sightline everyone queues for - and you manufacture a small traffic jam of people standing still, phones up, while others try to pass. Congestion is an access problem as much as a comfort one; a wheelchair user or a parent with a buggy should never have to wait out a scrum of scanners. Hotels face a version of the same clarity problem with labelled bedside information cards, just without the crowd.
Place codes where a visitor can step aside and pause without blocking circulation, at a height a seated person can reach, with enough contrast and size to read from a comfortable distance. Then test the scan under actual gallery lighting. Conservation often demands low light, and a code that only resolves under a bright phone torch is a code that excludes the very rooms it lives in. Check for glare on glazed cases too - a reflective vitrine can defeat a camera entirely.
Design for the whole audience
The visitors who benefit most from a well-made digital layer are often the ones a scan-only plan leaves behind: a blind visitor who wants audio description, a Deaf visitor who needs captions, someone reading in a second language, a child who learns better by listening. Serve them deliberately.
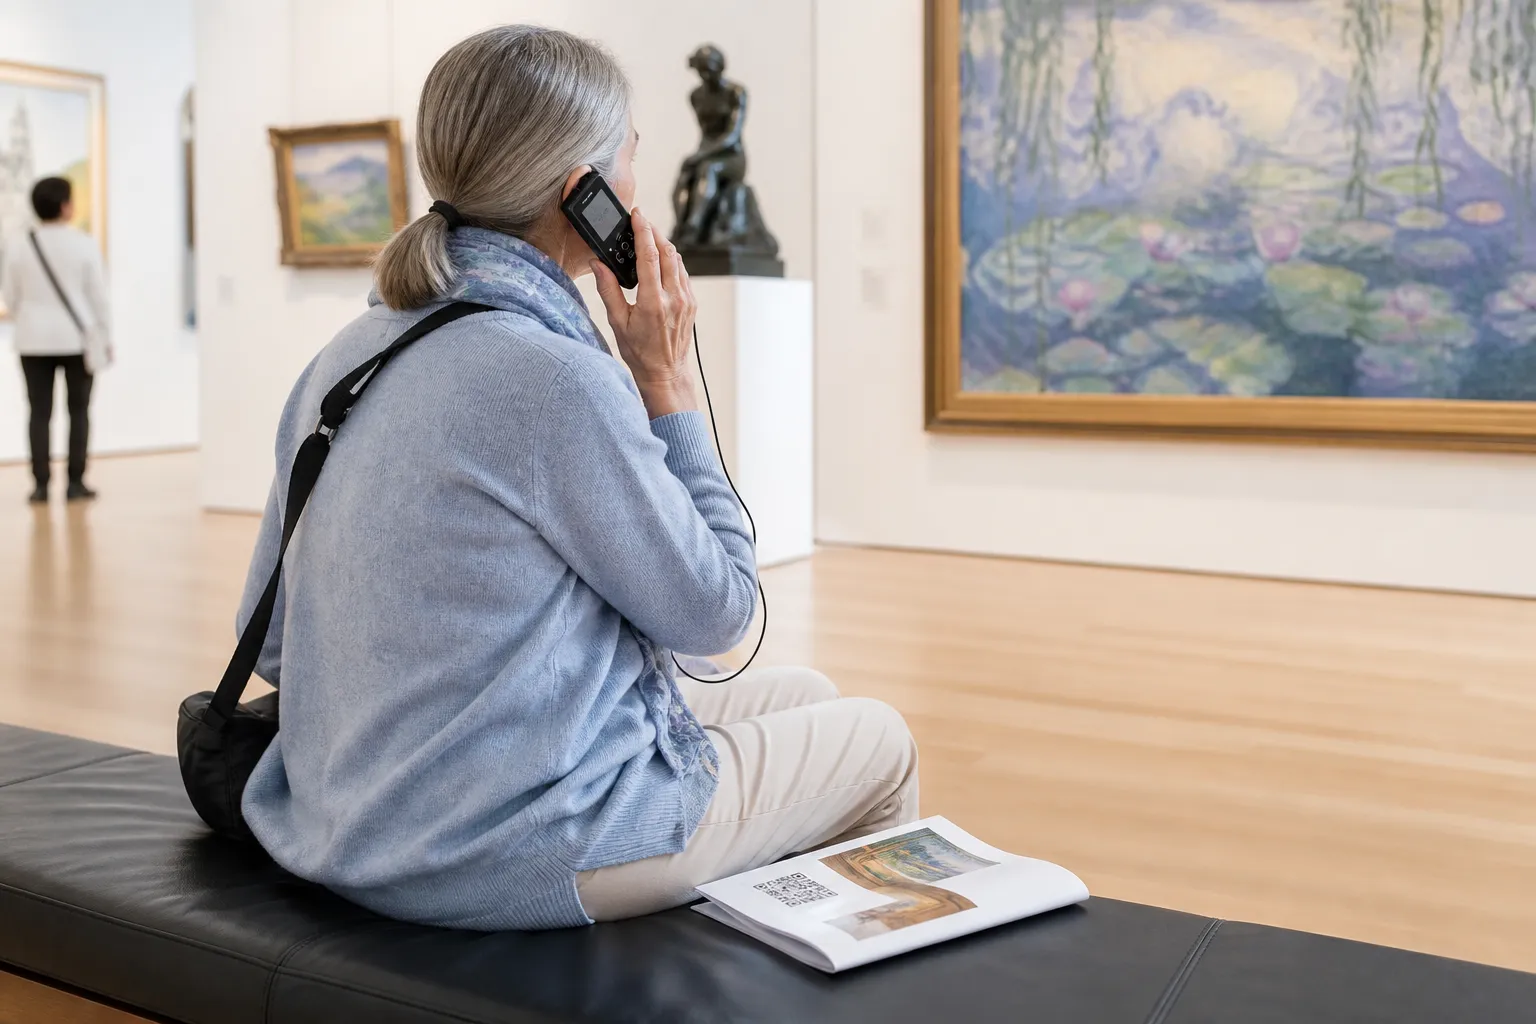
That means the destination has to be built to accessibility standards, not just linked from an accessibility label. It also means offering the same content by another route. A small stock of loan devices with the audio already loaded, a printed large-text guide, and a page that works on the museum’s own Wi-Fi all rescue the visitor whose phone is dead, foreign, or simply absent. Co-design these with disabled visitors and access specialists wherever you can; the people who rely on the alternative are the best judges of whether it actually works. Schools do a version of this too, pointing classroom stations at similar layered content for students who learn better by listening than reading.
A label that earns its code
Here is the shape I trust. An exhibit label shows a concise visible interpretation - enough that a phoneless visitor leaves informed - plus a clearly described code for tactile-map instructions and an audio-described version. The destination is lightweight and loads on gallery Wi-Fi. A loan device and a printed large-text guide stand ready as alternatives. And crucially, the digital page names its content owner and the exhibit’s end date, so nobody a year from now has to guess whether it is still current.
That last detail matters more than it looks. It turns a mystery link into an accountable object with a custodian and a lifespan.
Steward content like part of the collection
A museum thinks in decades; most QR projects are built as if the exhibit will never close. Bridge that gap. Use durable, owned URLs rather than a free redirect that a vendor might retire. Keep records mapping each object to its destination so a future colleague can find, update, or archive it. When an exhibit closes, either archive the content in line with your rights agreements or serve a clear, honest closure page - not a dead link, and never a silent redirect to something unrelated.
Rights are the quiet landmine here. Digital delivery is a different permission from physical display. Before a recording, image, performance, or translation goes behind a code, confirm the rights for that specific use: the artist, the photographer, the performer, the translator. A cleared object in a case is not automatically a cleared file on a phone.
Finally, be modest with measurement. It is tempting to track every scan, but a gallery is a place people come to think, not to be profiled. If you analyse anything, keep it to a documented, proportionate purpose and say so. Done with that restraint, the code stops competing with the bronze bowl and starts doing what interpretation is for: sending the visitor back to the object, seeing more than they did a moment ago.
Create the code you need
Use HighEndDIY’s private browser tool, then test the result in the setting where people will scan it.
Create a QR CodeFound something that should be corrected? Email help@HighEndDIY.com.