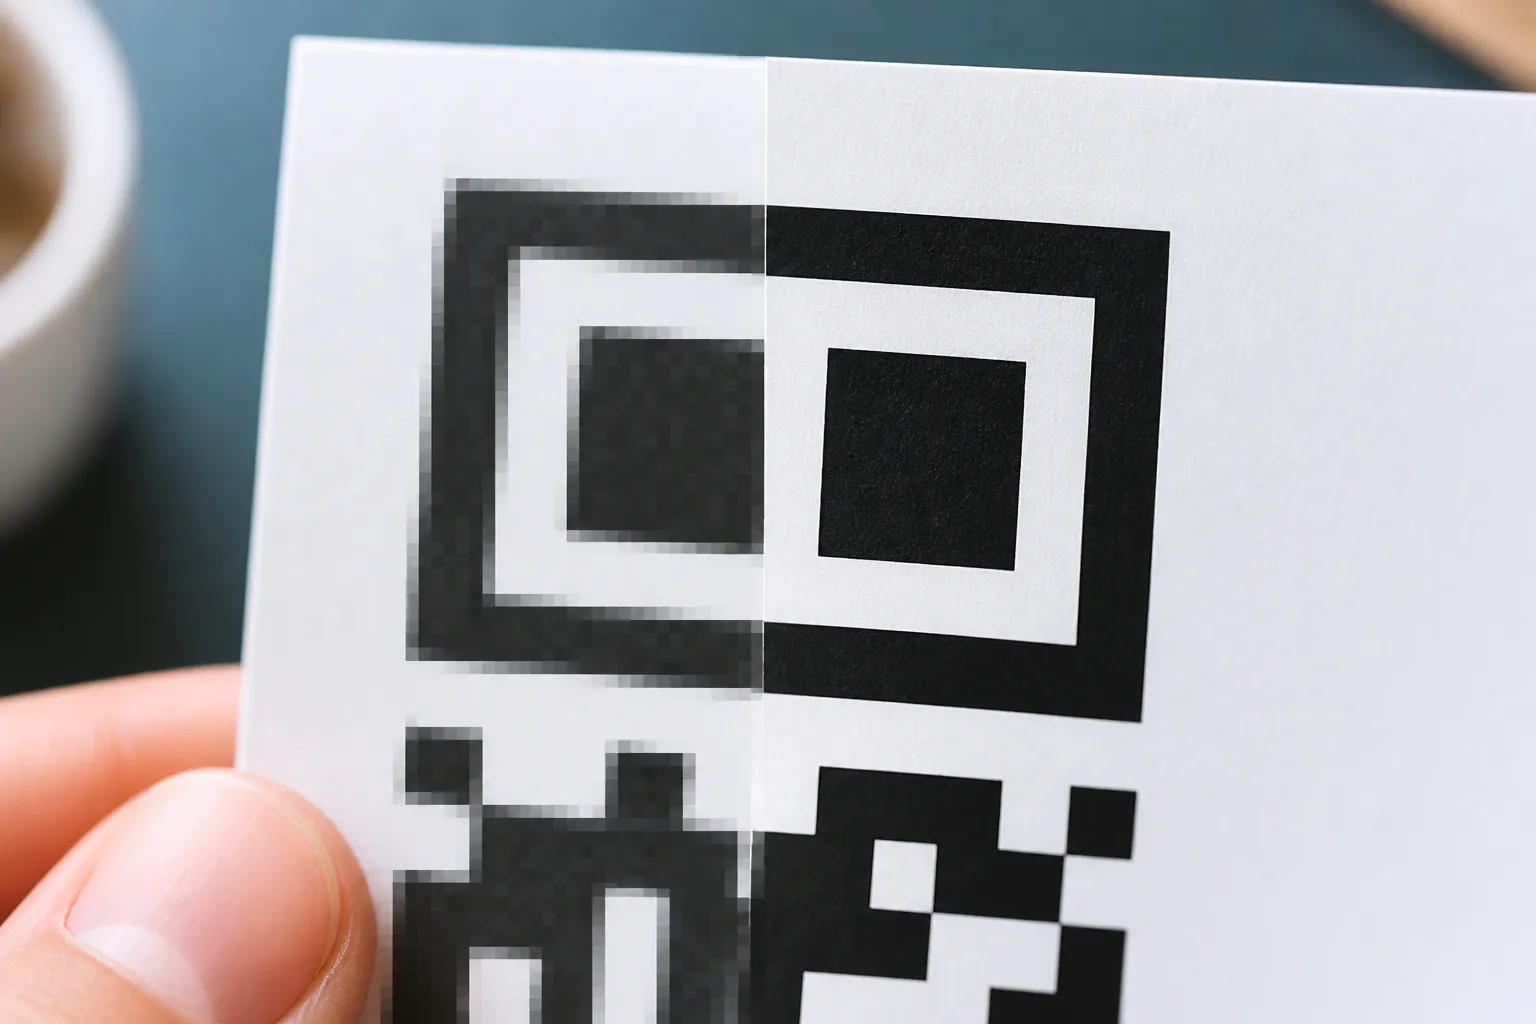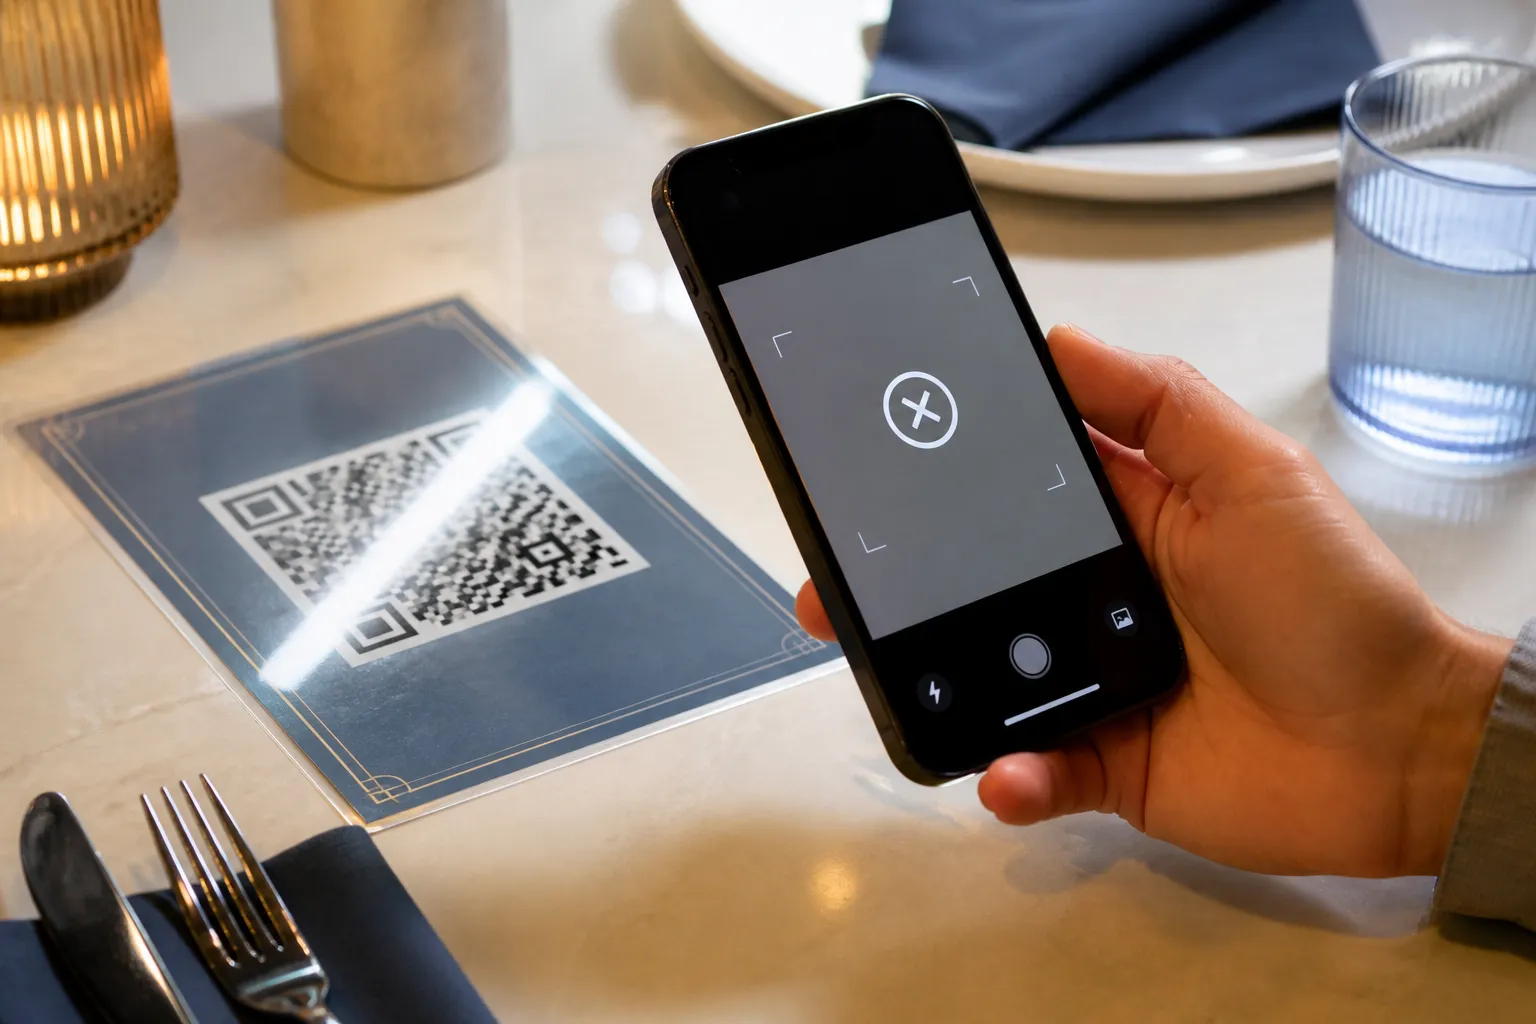
Someone always asks me for the number. “Just tell me the minimum size for a QR code.” I understand why - it would be lovely if there were one - but the honest answer is that the question is missing half its inputs. I have watched a two-centimetre code on a jam jar scan on the first try, and a five-centimetre code on a conference banner defeat an entire room. The jar held a short link in a loose, airy grid. The banner held a bloated tracking URL crammed into a dense one. Same physical size, opposite outcomes.
So forget the universal minimum. It does not exist, and chasing it is how good codes end up unreadable.
Measure in modules, not millimetres
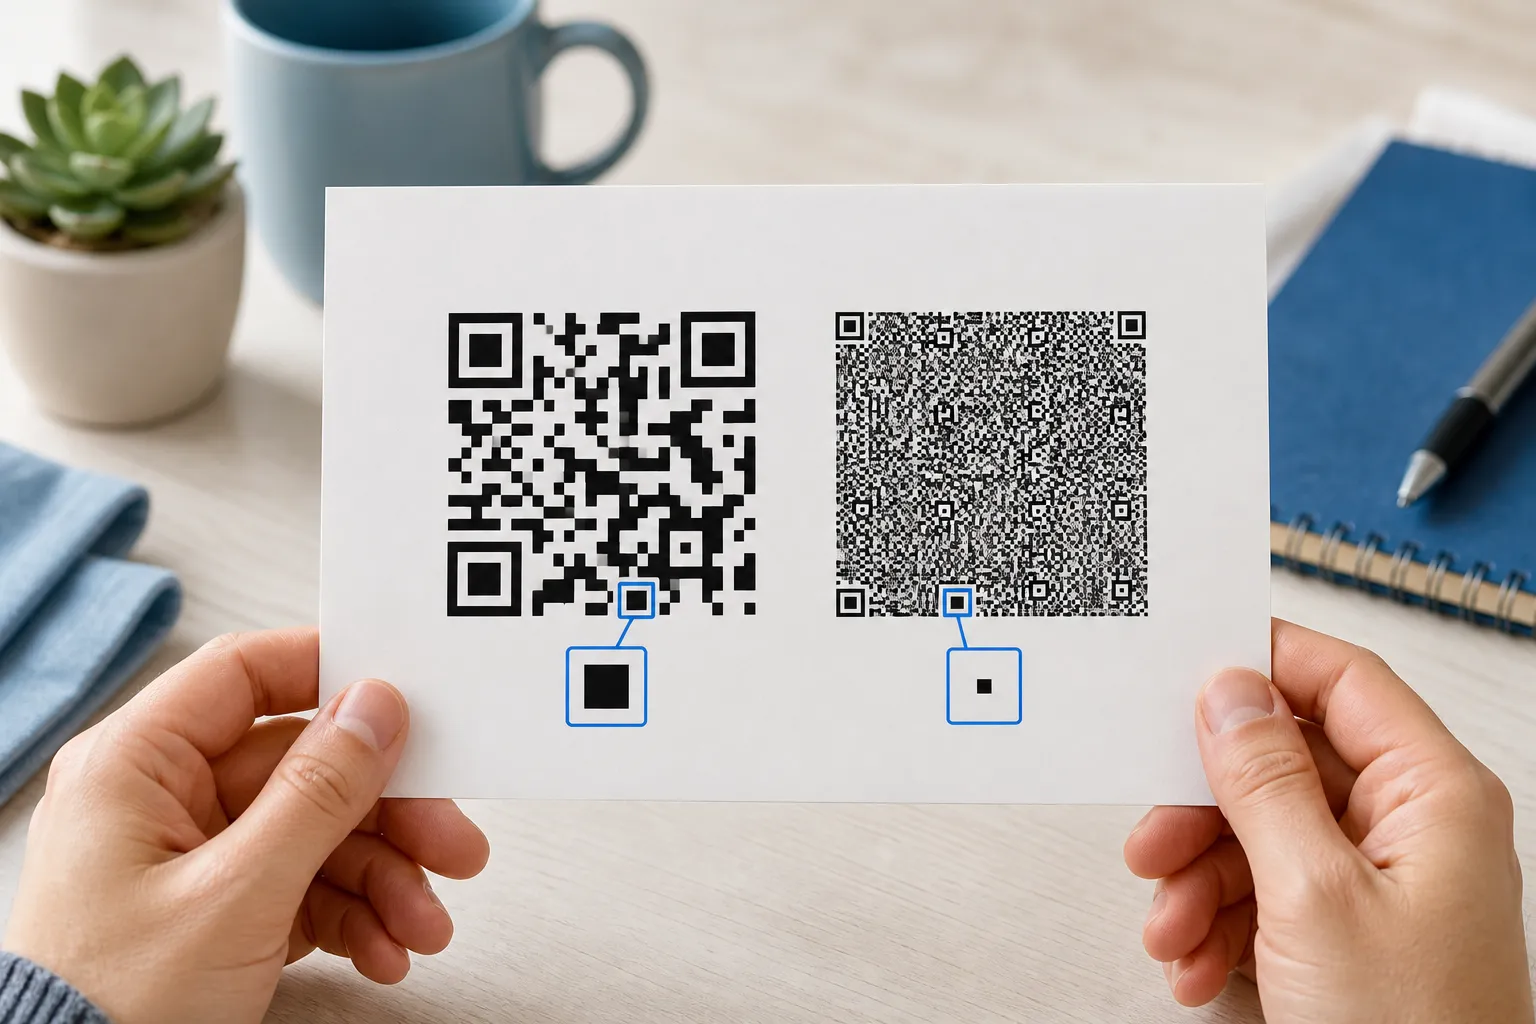
The unit that actually governs readability is the module: one little light or dark square in the grid. A code is only ever a certain number of modules wide, and it is the physical size of those individual squares - not the overall image - that decides whether a camera can resolve them.
This is why “how many millimetres” is the wrong opening question. A code holding a phone number might be 21 modules across. One holding a vCard with a name, two numbers, an email, and an address might be 45 modules across or more. Print both at the same width and the second one’s squares are less than half the size of the first one’s. The camera does not see your intentions, it sees squares, and small squares fail first, one of the clearest patterns behind why QR codes sometimes fail to scan.
Start from the finished payload, then do the arithmetic
Because density drives everything, you size the code after you have locked the payload, not before. Generate the real thing, with the real link, the error-correction level you have chosen, and any logo already in place. All three change the module count.
Then a bit of simple arithmetic gives you a starting width. Count the modules across the finished grid and add the quiet zone, that empty margin the code needs, usually four modules on each side. A 33-module symbol with a four-module quiet zone each side is 41 modules across. If you want each module to be half a millimetre, the code wants to be about 20.5 millimetres wide.
Treat that as a floor to test against, not gospel. Whether half a millimetre per module is enough depends entirely on how it will be printed and how far away it is read. The calculation gives you a sensible place to start proofing, which is the whole point.
Distance is a design input, not an afterthought
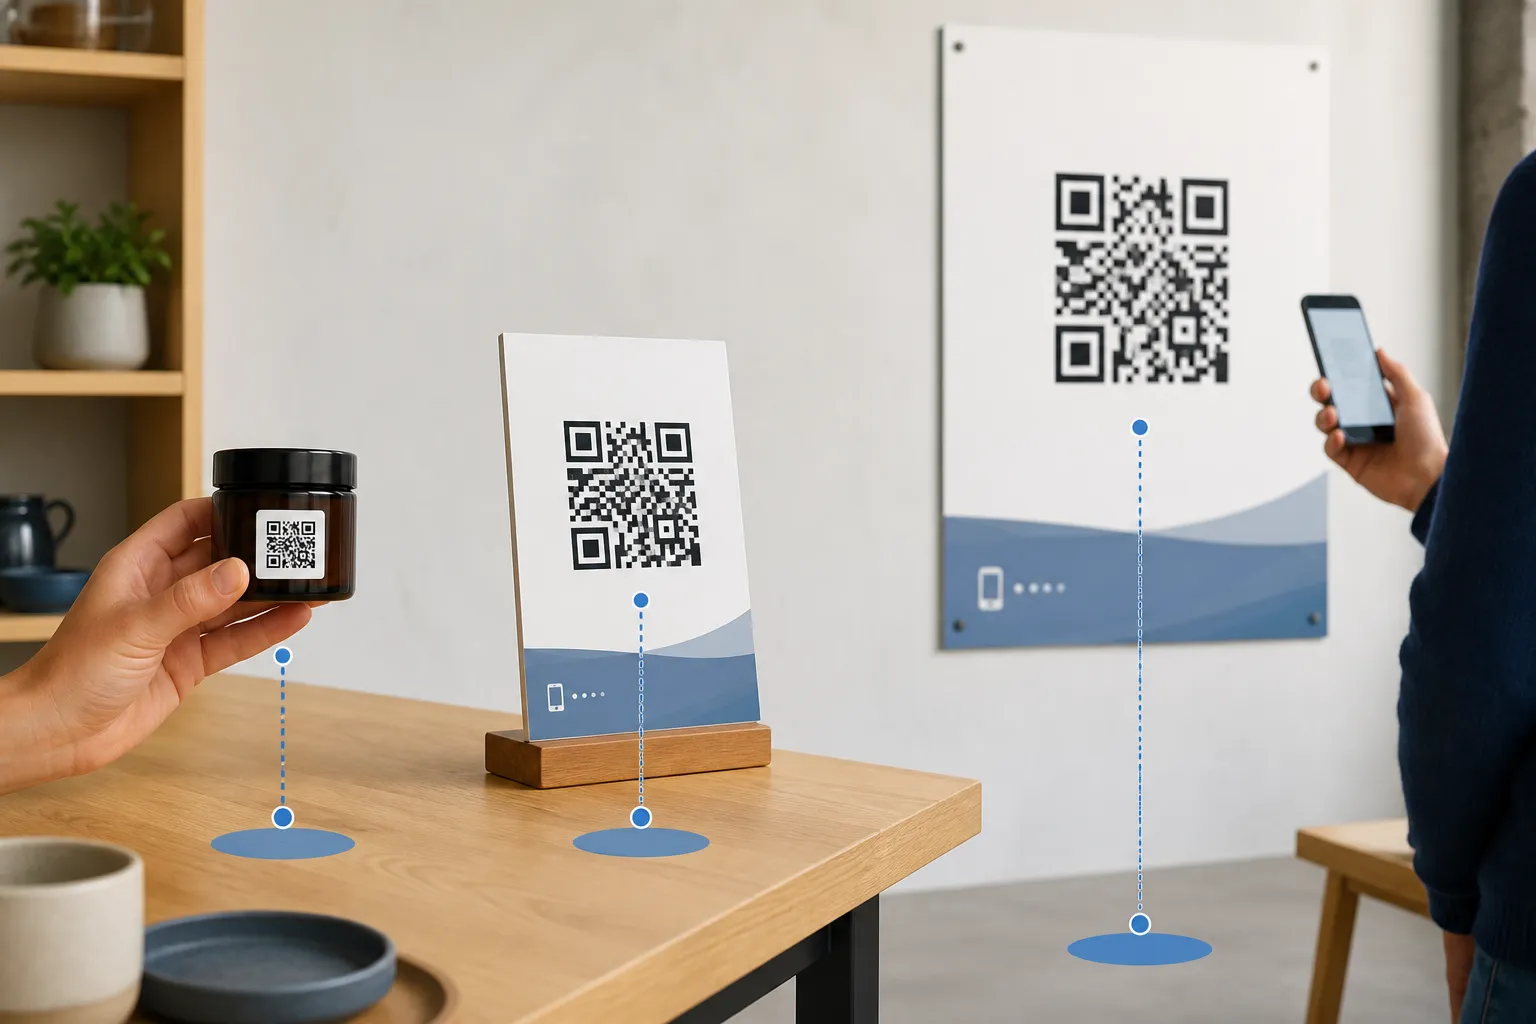
A code on a card in someone’s hand is read from twenty centimetres. A poster down a corridor might be read from four metres, the same math behind sizing a real estate yard sign meant to be read from the street. As the reader backs away, the code has to occupy the same angle in the camera’s view, which means it has to grow roughly in step with the distance. A rough field rule I lean on: a code wants to be about a tenth of the distance it is scanned from. Four metres away, think in the tens of centimetres, not a polite little square.
Two mistakes I see constantly. The first is mounting a small code high on a wall and trusting digital zoom to rescue it - zoom magnifies blur, it does not add detail. The second is designing for the newest flagship phone in the office when your audience is holding three-year-old handsets with worse cameras and cracked screens. Test from where people will actually stand, with the phones they actually carry.
Ink, gloss, and curved surfaces
Even a perfectly sized file can be undone by production. Ink spread on an absorbent stock closes up the narrow light gaps between modules. A tired office laser printer softens every edge. Gloss laminate throws glare across the finder patterns, which compounds fast with a poor color and contrast choice. A fold drops a shadow through the middle. And wrapping a code around a curved bottle or tin bends its geometry so the camera reads a distorted grid.
A vector export, an SVG, keeps the geometry crisp in your layout, but it cannot fix the physical edge quality your printer delivers. So ask the printer two blunt questions: what is your effective resolution on this stock, and what is the smallest reliable feature you can hold? Then get a proof on the real material, the real finish, and the real shape. Not a laser print on office paper standing in for the final thing.
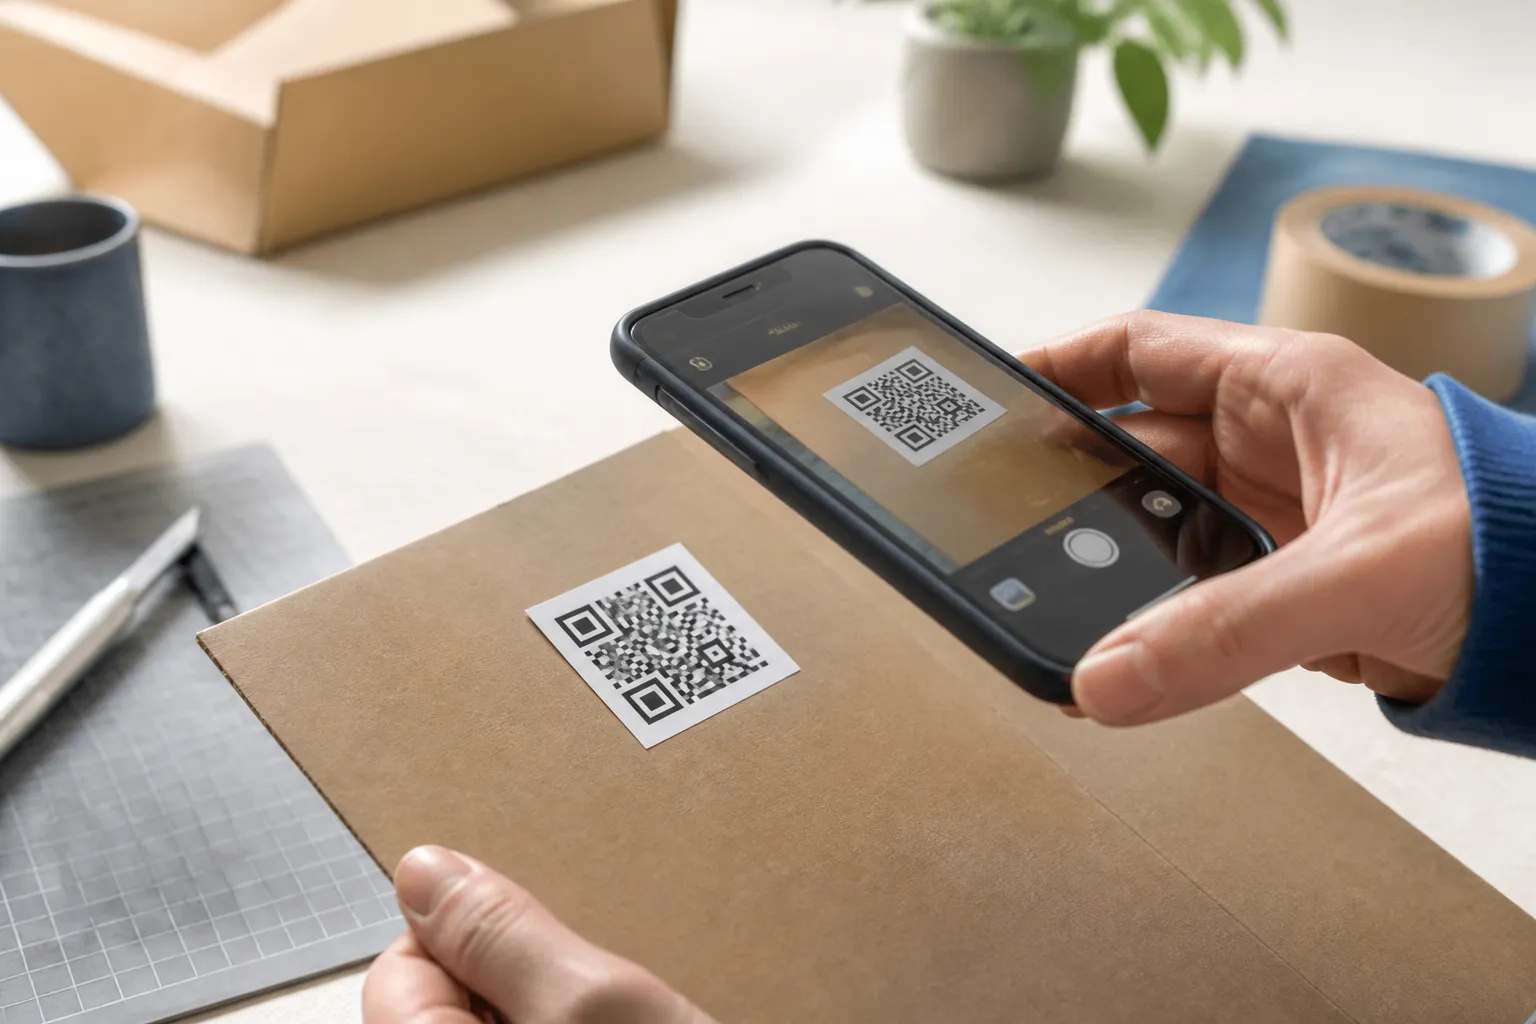
Codes on screens have their own traps
Digital display is not automatically the easy case. Sizing in CSS pixels is only the start, because display scaling, screenshots, video compression, low brightness, and moiré patterns between the screen grid and the camera all interfere. Give an on-screen code generous clear space, keep it up long enough for a person to react, aim, and hold steady, and never animate it or let it resize while someone is trying to scan. A code that shrinks the instant a slide advances is a code nobody catches.
A workflow you can repeat
- Finalise and shorten the payload, without piping it through an untrusted link shortener.
- Choose the error-correction level and settle any logo treatment.
- Export SVG so layout work never degrades the geometry.
- Set a provisional size from the module maths and the scanning distance.
- Produce a real proof on the real stock, finish, and shape.
- Test on several phones, not just the newest, at near, expected, and slightly farther distances.
- If results are inconsistent, make it bigger or make the payload shorter. Usually both help.
Do this once and the “what is the minimum size” question quietly answers itself. It is however big it needs to be so that a normal person, with a normal phone, standing where they normally stand, gets a clean scan on the first try. Everything above is just how you find that number honestly instead of guessing it.
Sources and further reading
Create the code you need
Use HighEndDIY’s private browser tool, then test the result in the setting where people will scan it.
Create a QR CodeFound something that should be corrected? Email help@HighEndDIY.com.