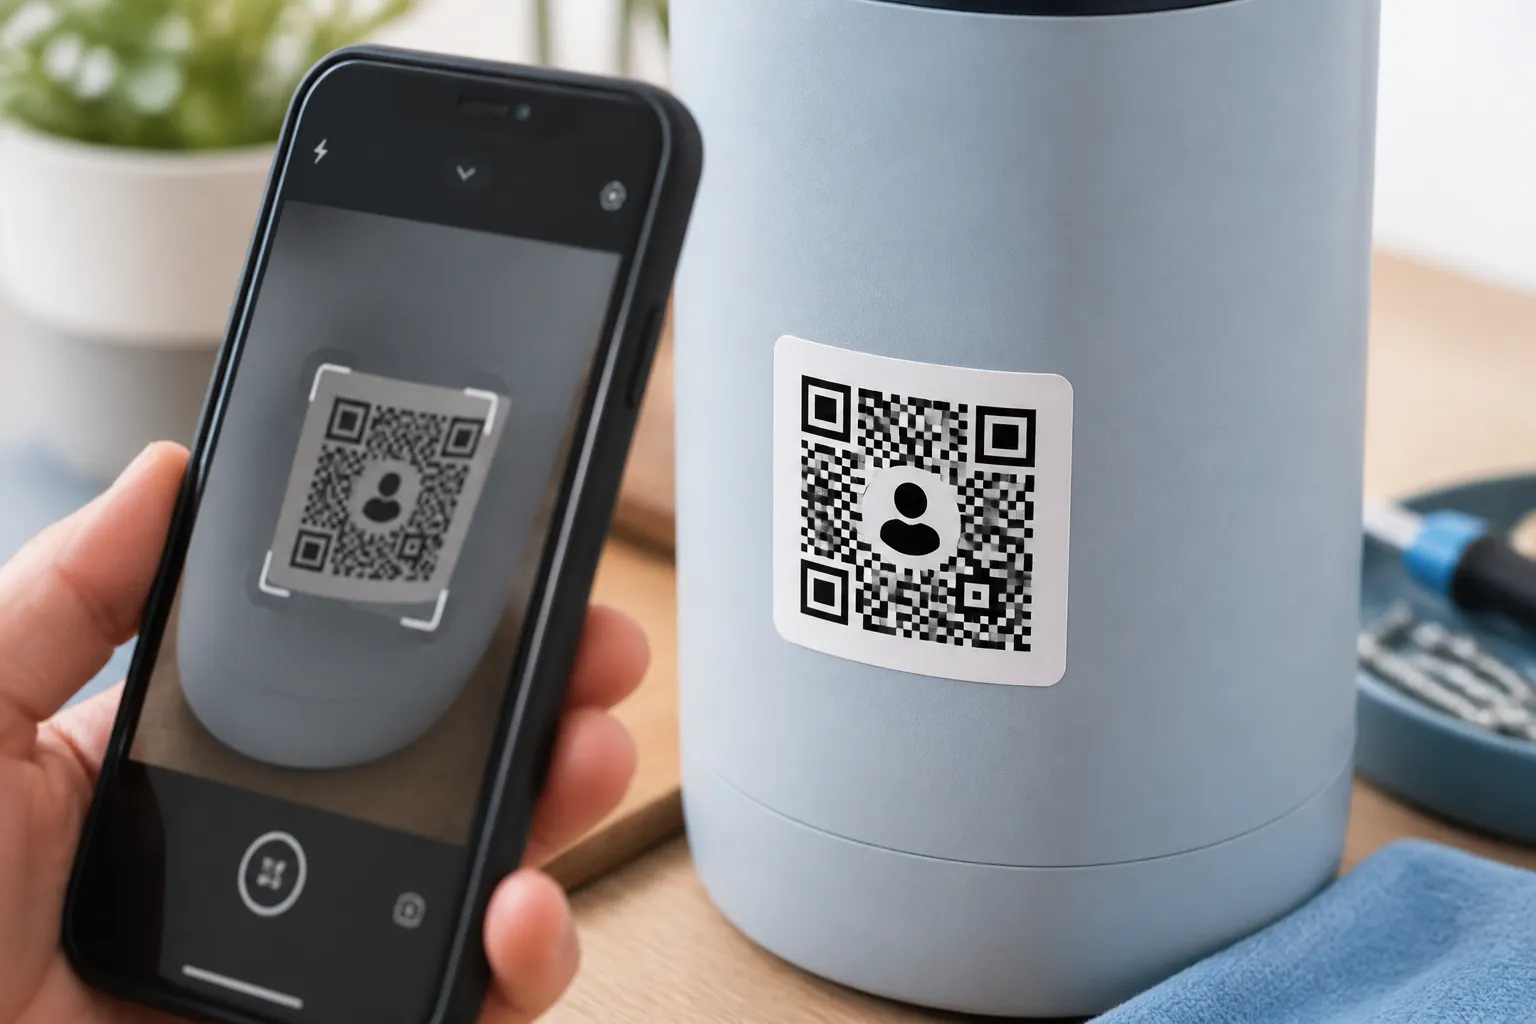
A maker in a woodworking forum once swore that error correction level H was “bulletproof,” slapped a logo dead in the centre of a tiny cabinet label, cranked the setting to H, and printed a batch. Half of them would not scan. He was furious at the technology. The technology was fine. He had crammed so much redundancy into an 18-millimetre square that the modules shrank below what his printer could reproduce, and the very setting meant to protect the code is what strangled it. Error correction is real and useful. It is also widely misunderstood as a magic shield, and that misunderstanding causes more failures than it prevents.
So let us be precise about what it actually is, building on how a QR code stores its payload in the first place. Every QR code carries extra, redundant information alongside that payload, so a reader can rebuild the data even when some of the pattern is dirty, scratched, or covered. There are four standard levels, named L, M, Q, and H, and they trade compactness for recovery capacity: L holds the least backup and stays smallest, H holds the most and grows the densest. That is the whole spectrum.
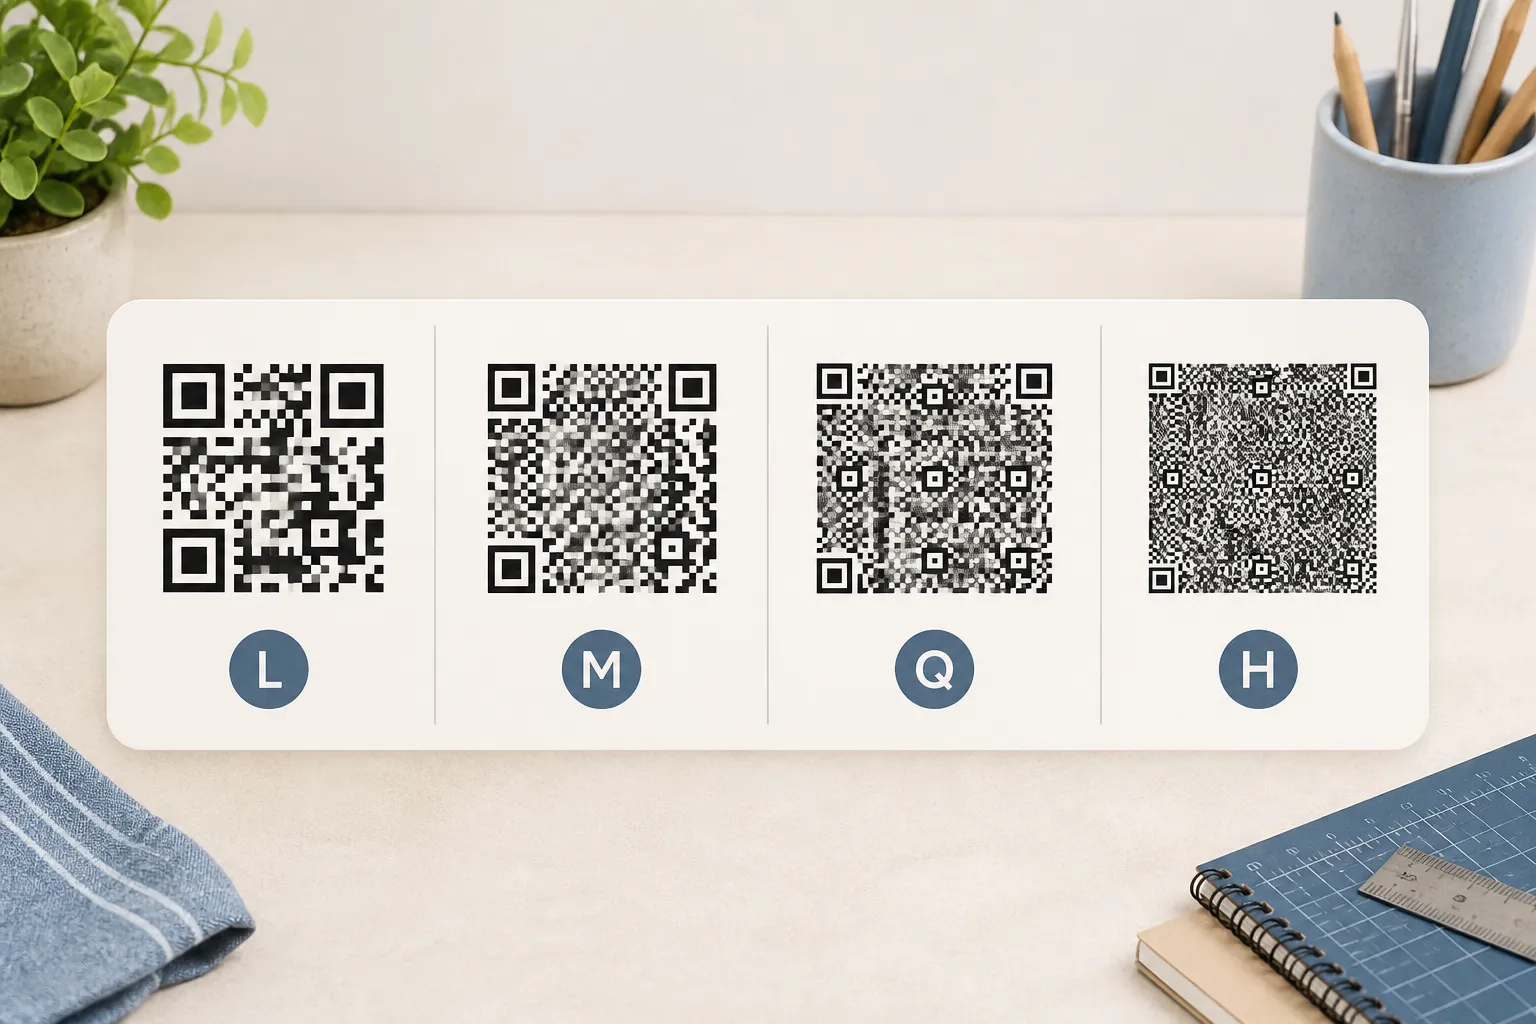
The four levels, and what they are for
- L carries the least redundancy and can produce a looser, less dense symbol for the same payload. Good when the code lives on a clean screen at a generous size.
- M is the sensible default for most tidy digital and print jobs. It absorbs ordinary handling without bloating the grid.
- Q adds more recovery headroom and is a reasonable starting point the moment you introduce a modest centre logo.
- H offers the most standard recovery capacity, and usually the densest symbol, which is exactly the catch below.
The instinct is to reach for H “to be safe.” Resist it. Higher is not automatically better. If H forces your payload into a larger QR version with tinier printed modules, the theoretical protection on paper is undone by a printer that cannot lay down those smaller modules cleanly. You can protect a code right out of the range where it scans.
Recovery is mathematics, not photo repair
Here is the mental model that clears up most confusion. The reader does not look at a damaged code and imaginatively reconstruct a missing photograph. It samples the grid of light and dark modules, reads them as codewords, and uses the redundant information to correct a limited number of values that came back wrong or missing. Correct a few, and it decodes. Push past the budget of errors the level allows, and decoding simply fails. There is a hard ceiling, not a gentle slope.
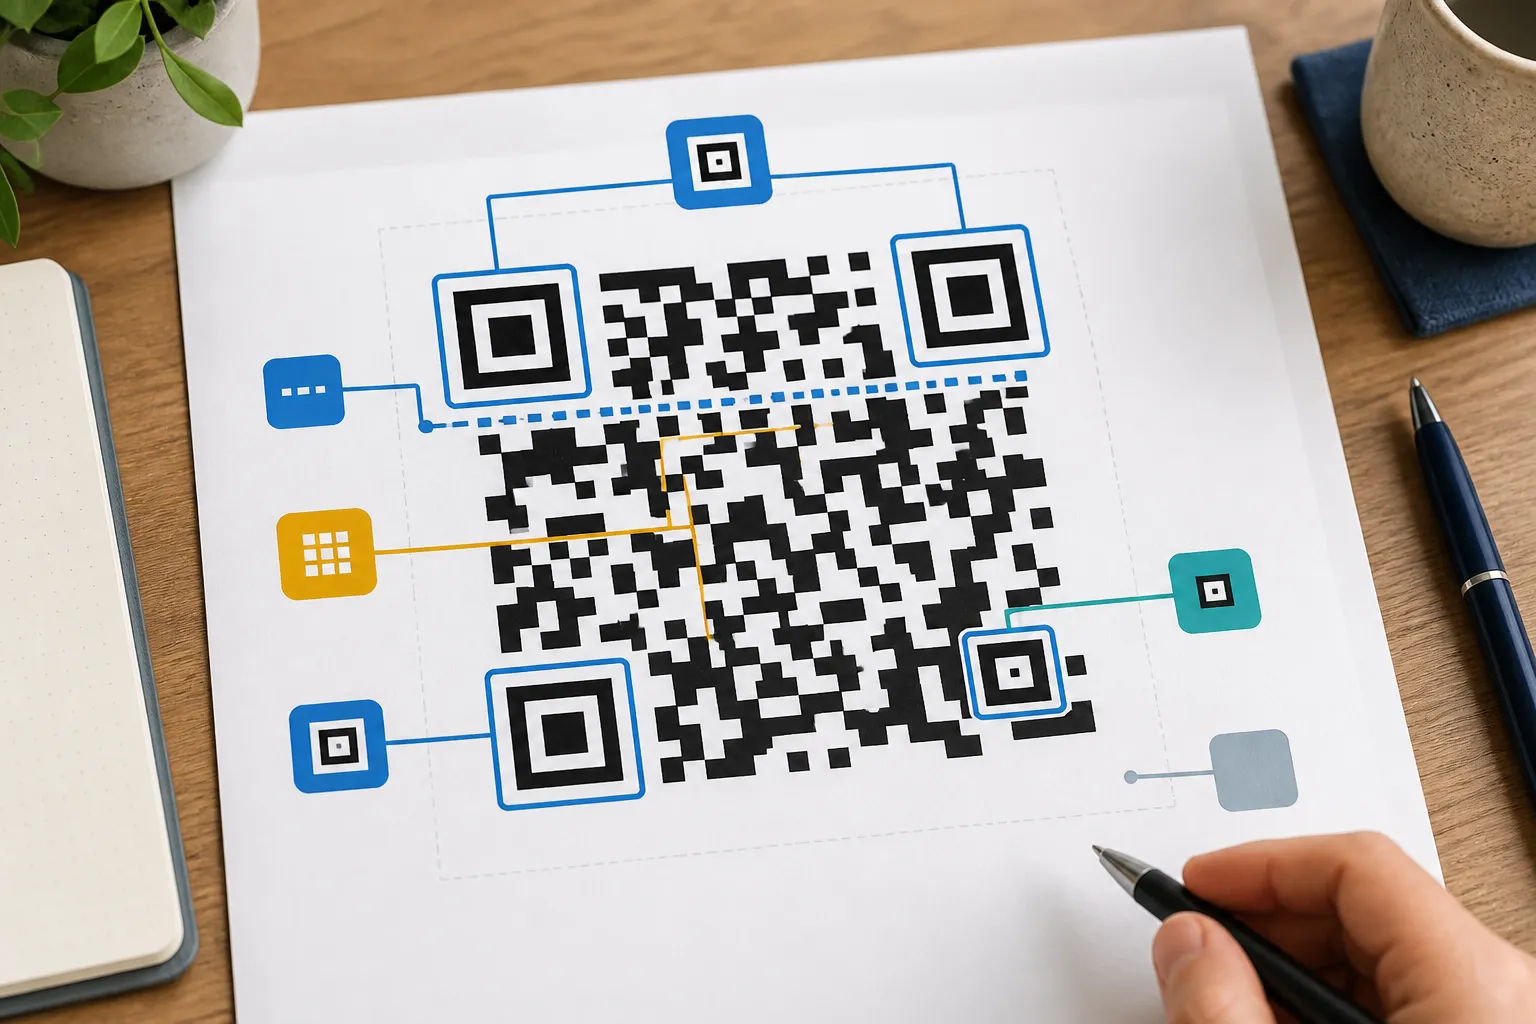
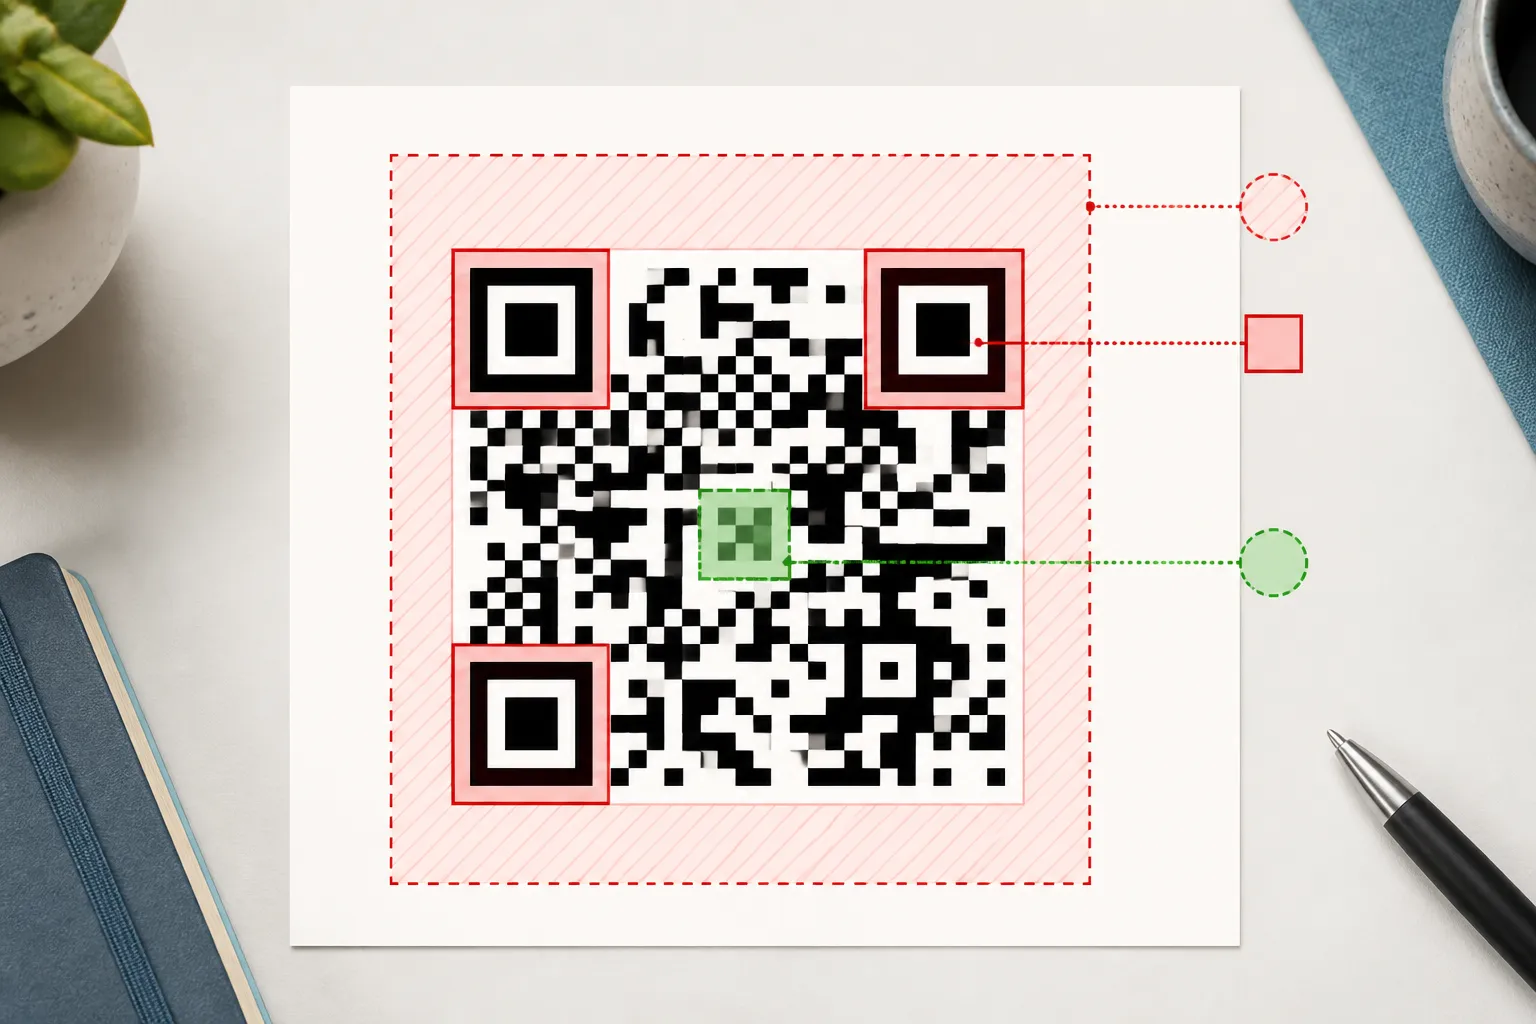
This is why placement of damage matters as much as amount. A neat white logo area in the centre is more predictable to work around than a random spray of scratches, but it still consumes part of that error budget. And some parts of the code are effectively off-limits: the three big finder squares in the corners, the smaller alignment patterns, the timing rows, and the blank quiet zone around everything. Cover a corner square and no level of error correction saves you, because the reader can no longer find or orient the code at all. Never, ever put artwork over those.
It also helps to know that the recovery percentages you see quoted for each level are approximations of capacity, not a contract. Level H is often described as tolerating around 30 percent damage, but that figure assumes the errors fall where the mathematics can handle them and that the modules are being sampled cleanly. Concentrate the same amount of damage across a finder pattern, or add optical distortion and glare, and you can fail well under any headline number, one of several causes covered in why QR codes sometimes fail to scan. Treat the percentages as a rough sense of relative strength between levels, not a guarantee about your specific label.
The workshop example, done right
Go back to that cabinet label, but reason through it properly. Say it encodes a 28-character internal URL. At level M, that produces a comfortably loose grid with large, forgiving modules that any phone reads at a glance. Switch to H and add a centre logo, and the grid gets noticeably denser to make room for all that extra redundancy. If the label is still only 18 millimetres wide, those denser modules are now smaller than the printer can hold, and the “more protected” H version scans worse than the plain M one did. More redundancy, less reliability. That is the trap in one sentence.
The correct sequence is not “pick H and hope.” It is: settle the payload, choose the recovery level the environment genuinely needs, generate the real code, then work out a physical size that keeps the modules large enough to print and scan. Error correction level and printed size are a single decision with two dials. Turn one and you have to check the other.
Choosing a level for the real world
Match the level to where the code will actually live. An on-screen code with no logo and plenty of room can sit happily at L or M. A label that gets handled constantly, an outdoor sign facing weather, a product package that scuffs in transit, or any design with a centre logo is where Q or H start earning their density, provided you also give the code the physical size to carry it. That choice is separate from deciding between a static or dynamic code, which is about what the code points to rather than how much damage it can survive.
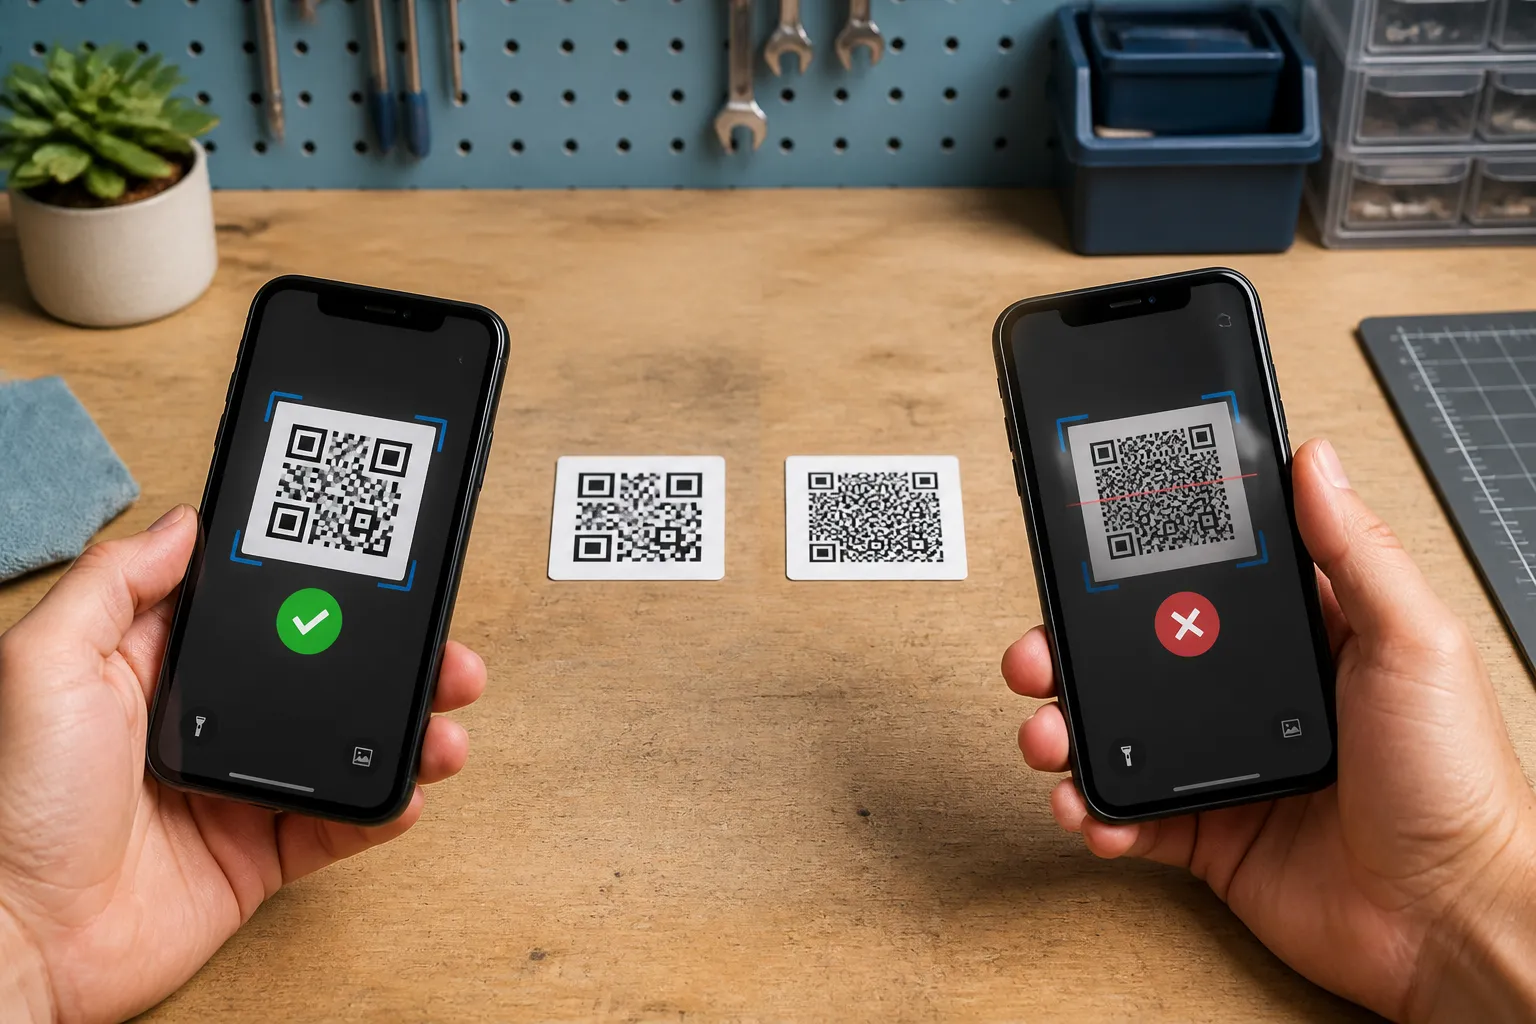
Whatever you choose, do not certify the pristine source image and call it done. Scan the printed proof. Scan the laminated sign under a glare that mimics its real lighting. Scan the code once it is wrapped around the actual bottle or box it will ship on, because curvature and handling are part of the test. Error correction is a genuine safety margin, but it is a margin you confirm by scanning the finished object, not a guarantee you assume from a number in a dropdown.
Sources and further reading
Create the code you need
Use HighEndDIY’s private browser tool, then test the result in the setting where people will scan it.
Create a QR CodeFound something that should be corrected? Email help@HighEndDIY.com.