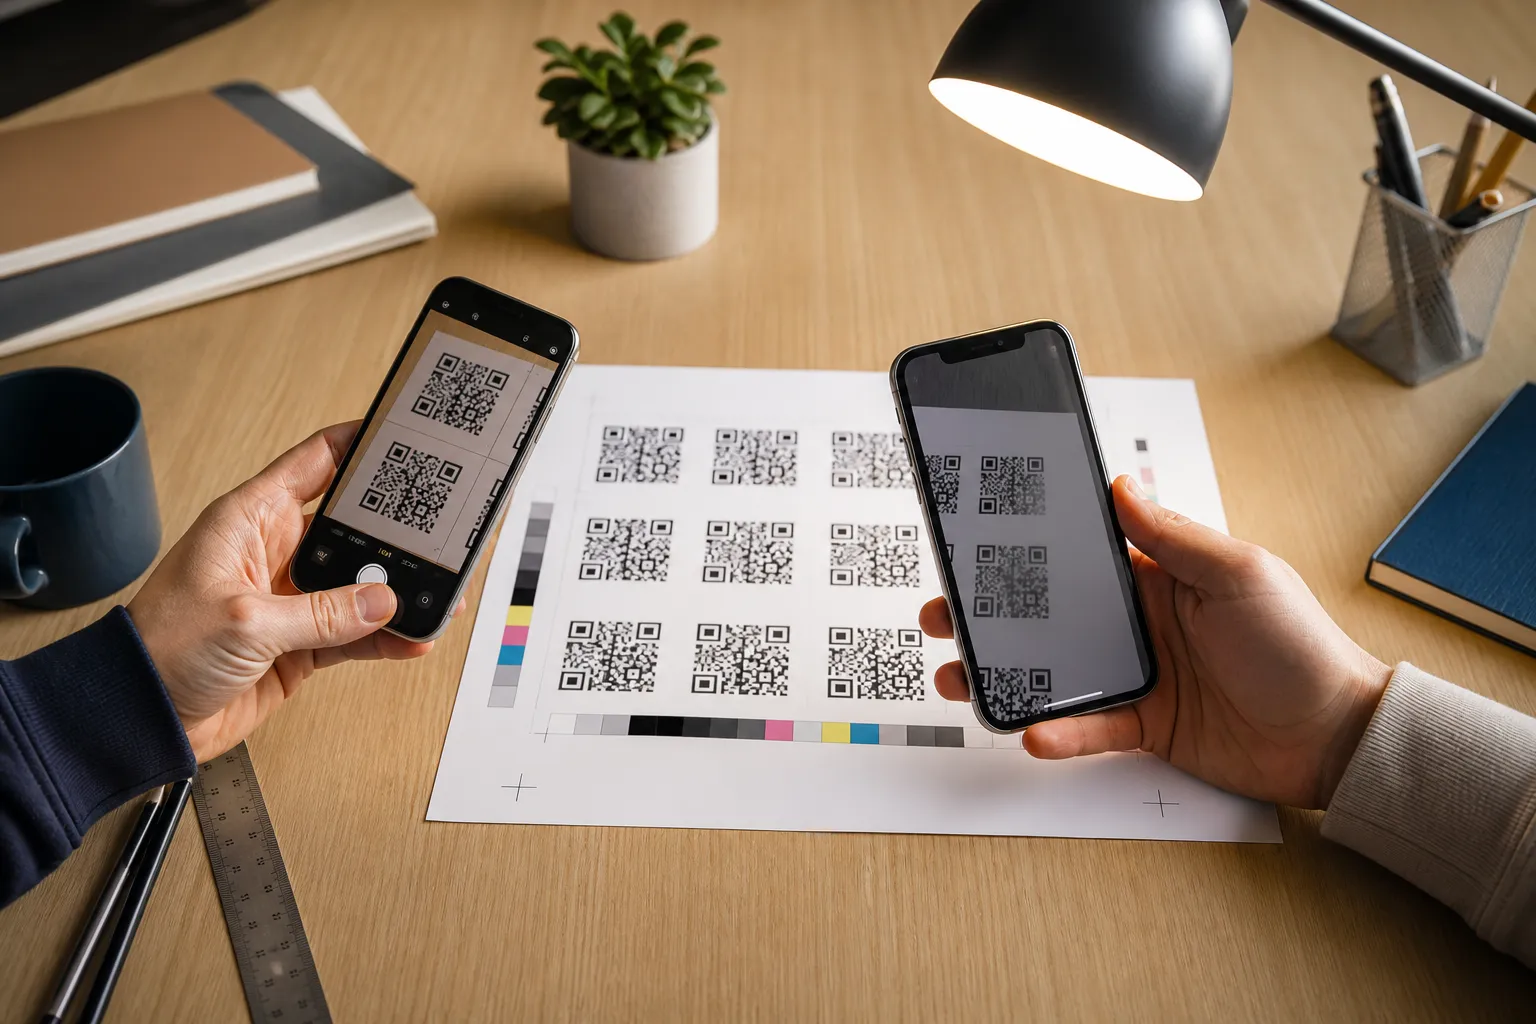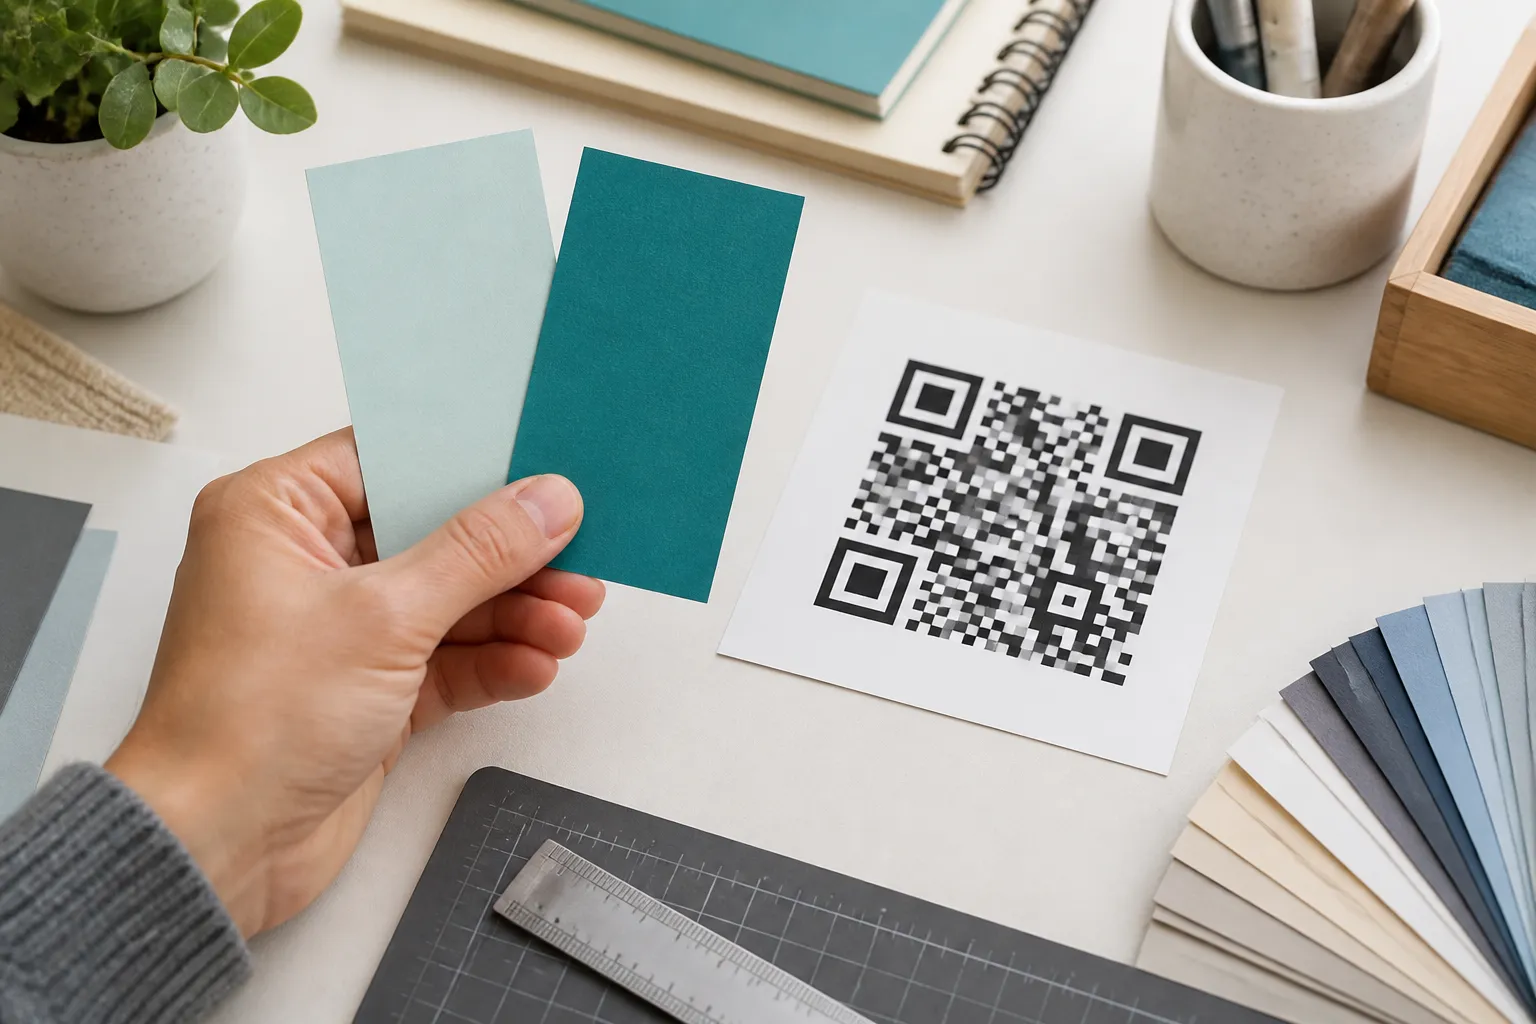
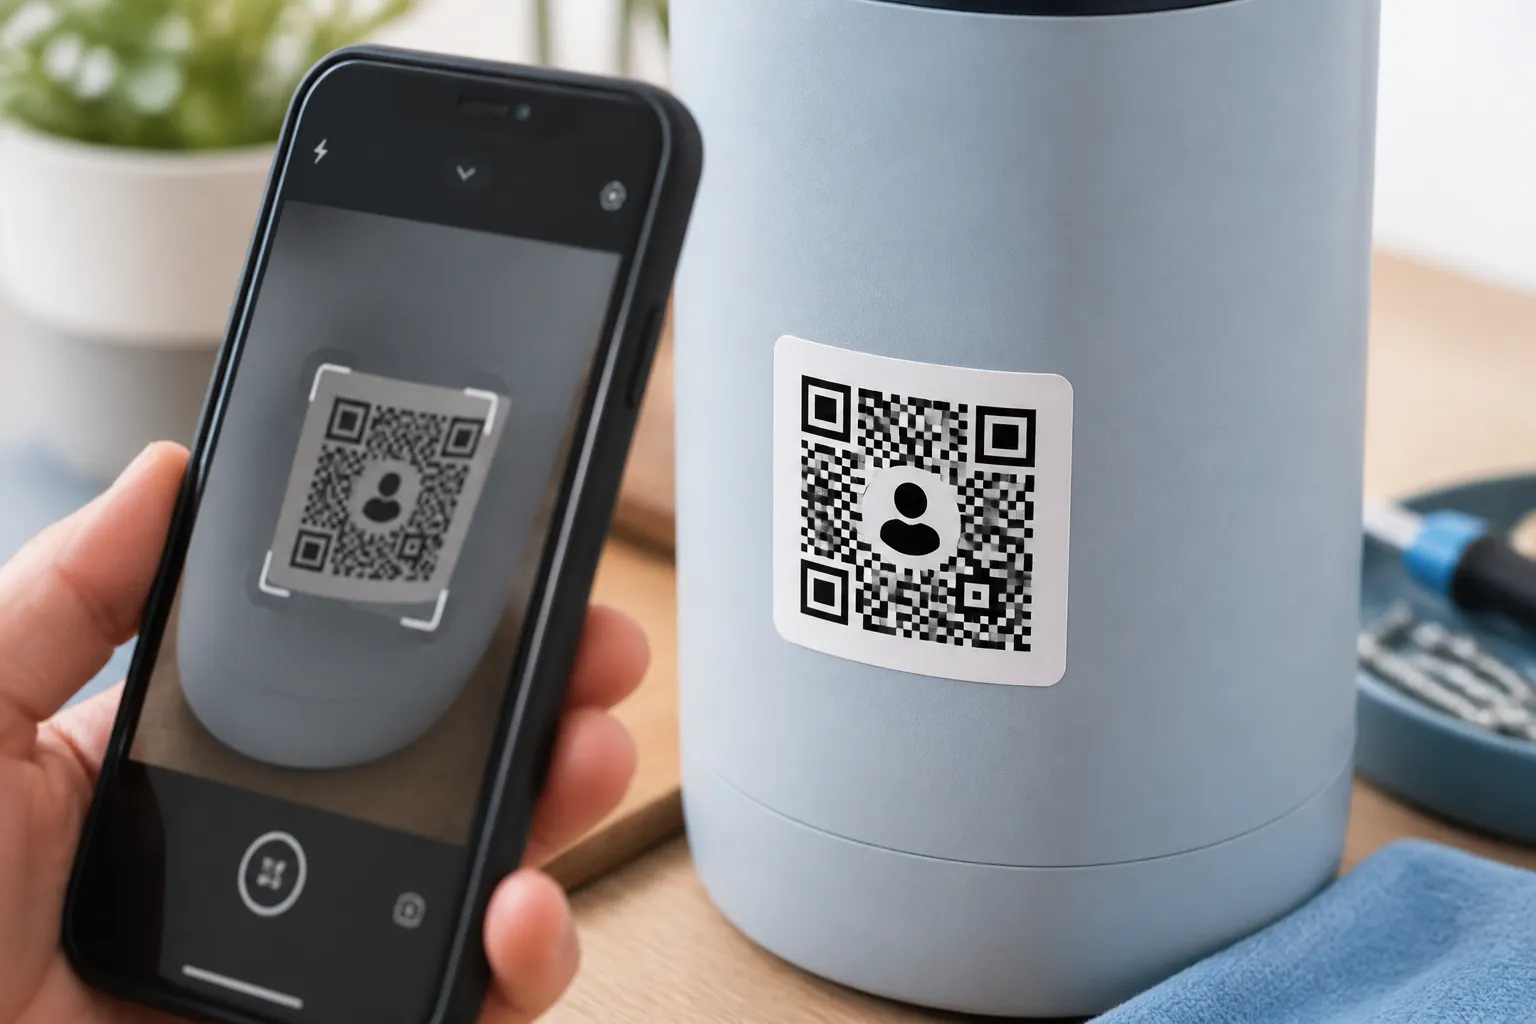
A logo in the middle of a QR code is a magic trick, and like any magic trick it works because of a mechanism most people never see. That mechanism is error correction: the code deliberately stores redundant copies of its data, so a scanner can rebuild what your logo covers. Drop a small mark in the center and the redundancy quietly fills the gap. Push the mark too big and you spend redundancy you needed for a scuff on the print, a bad camera angle, or dim light, and the trick fails at the worst moment.
So a center logo is not a feature you switch on. It is a controlled compromise you test. The whole job is keeping the mark modest, keeping it away from the parts of the code that are not repairable, and proving the finished object scans in the real world rather than on your screen. The same logic applies to color choices; see QR-code color and contrast guidelines if your logo patch or surrounding design uses anything other than plain black on white.
Start from a code that already works
Get the plain, unbranded code scanning perfectly before a logo touches it. If the bare code is unreliable - too dense, too small, poor contrast - a logo will only make it worse, and you will waste an afternoon blaming the mark for a problem it did not cause.
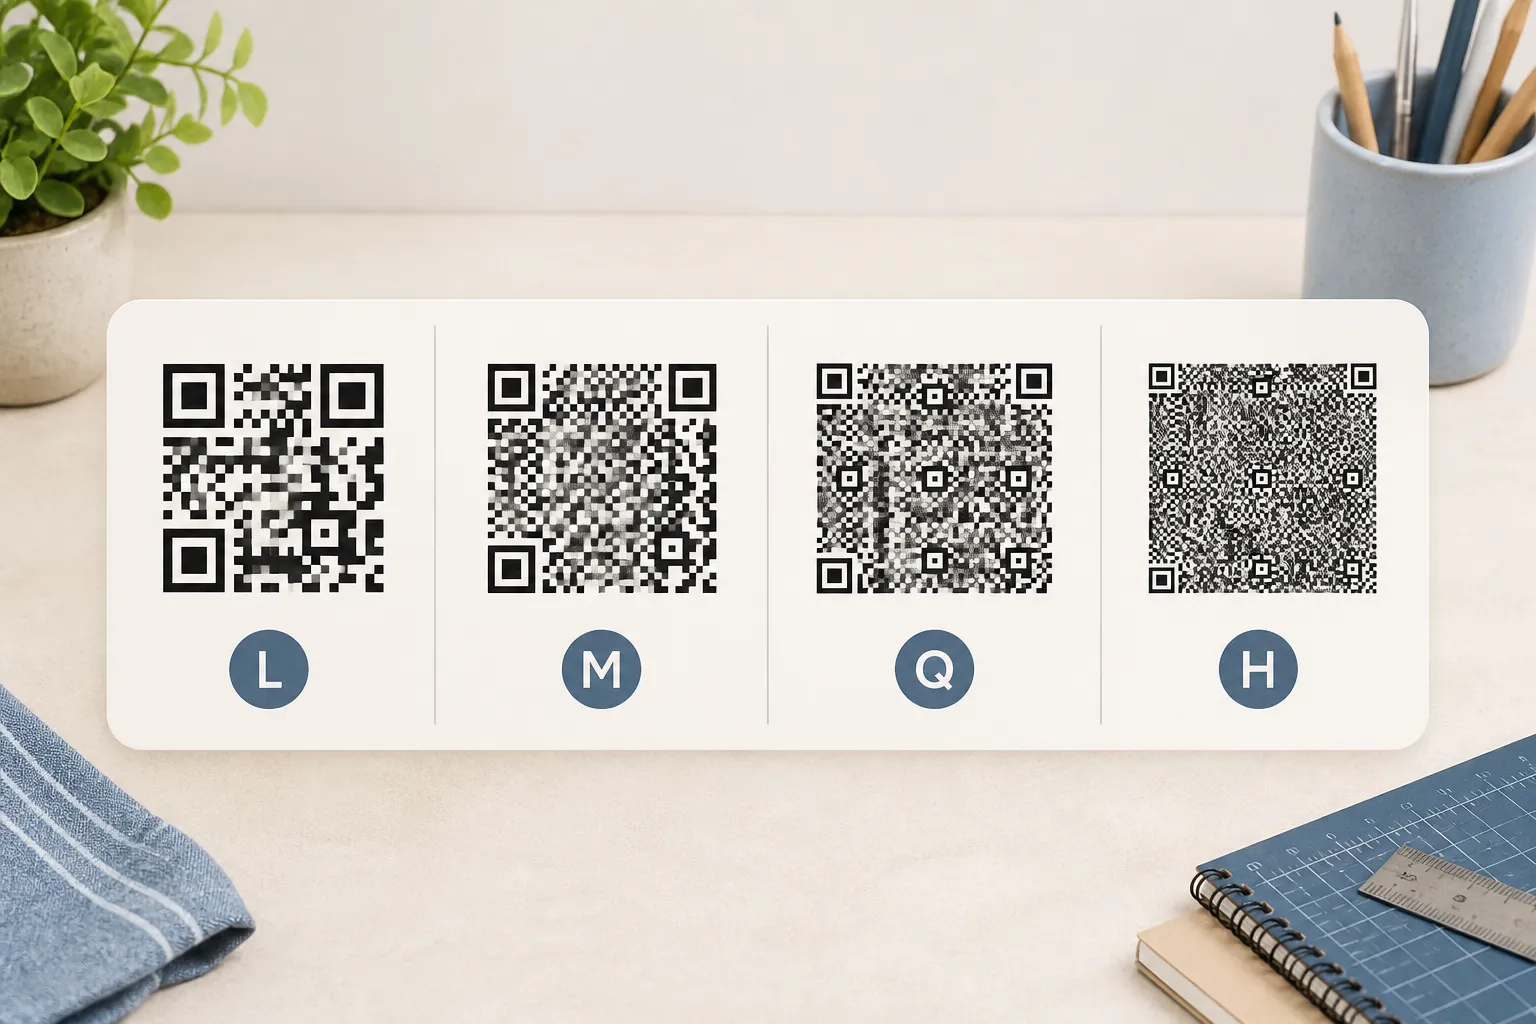
Two things buy you room. First, shorten the payload. A tidy short URL produces a sparser, more forgiving grid than a long tracking-laden one, and every module you remove is breathing space you can later spend on the logo. Second, raise the error-correction level. Q recovers around a quarter of the code and H recovers close to a third, and either is a sensible starting point when you plan to cover part of the grid on purpose.
One honest trade-off: higher correction packs in more modules, so the grid gets busier and each square gets smaller at the same print size. After you change the correction level, recalculate the physical dimensions, and run the result through a full pre-print test sequence before a large run ships. A code that was reliable at 30 millimeters may need 40 once you bump it up.
Prepare a logo file that will not fight you
Use a raster format - PNG, JPEG, or WebP - from a source you trust. HighEndDIY refuses SVG uploads for logos on purpose, because an SVG is really a little program that can carry active or externally referenced content. The tool decodes your raster locally, caps the file size, and re-renders it before it ever lands on the code, so nothing hidden rides along.
Design-wise, simple wins. A clean silhouette, a single glyph, or a compact icon survives shrinking far better than fine lettering, which turns to mud at the size a center logo actually occupies. Set the mark on a small solid patch so it reads as separate from the surrounding modules rather than smearing into them, but keep that patch tight. The patch is covering data, and every extra millimeter of it is data you are asking error correction to reconstruct, a trade-off that gets tighter still on an already-dense code like a vCard business card, where there is less redundancy to spare in the first place.
Protect the structure the code cannot rebuild
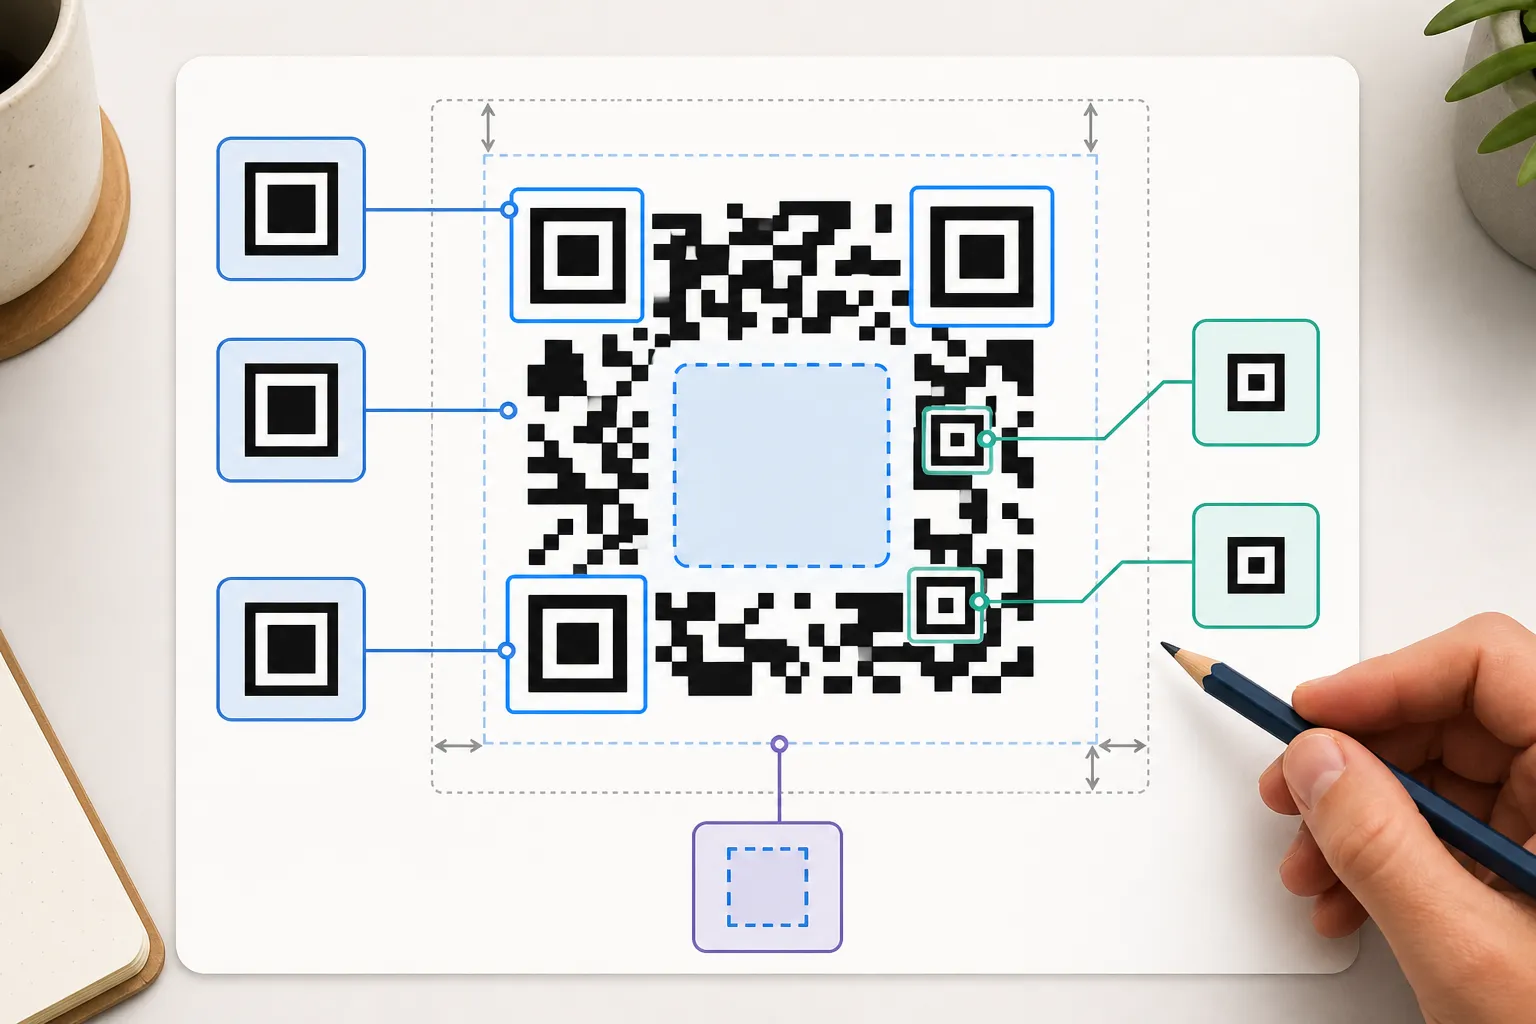
Error correction restores data modules. It cannot restore the structural parts a scanner needs just to locate and orient the code, and covering those is fatal in a way no correction level will save.
Never touch the three finder squares in the corners, the big concentric targets a scanner uses to find the code at all. Avoid the alignment patterns, the smaller squares that keep the grid straight on a curved or angled surface. Leave the quiet zone, the empty margin around the whole code, completely clear, because a scanner reads that emptiness as the boundary. The center is usually the safest home for a logo precisely because it tends to sit clear of these features, but the exact symbol version decides where alignment patterns fall, so the center is a good default rather than a guarantee.
HighEndDIY caps the logo control to a conservative slice of the code, and it will warn you as you approach the edge. Read that warning as a nudge to go test, not as a certificate that your design passed.
A test sequence worth copying
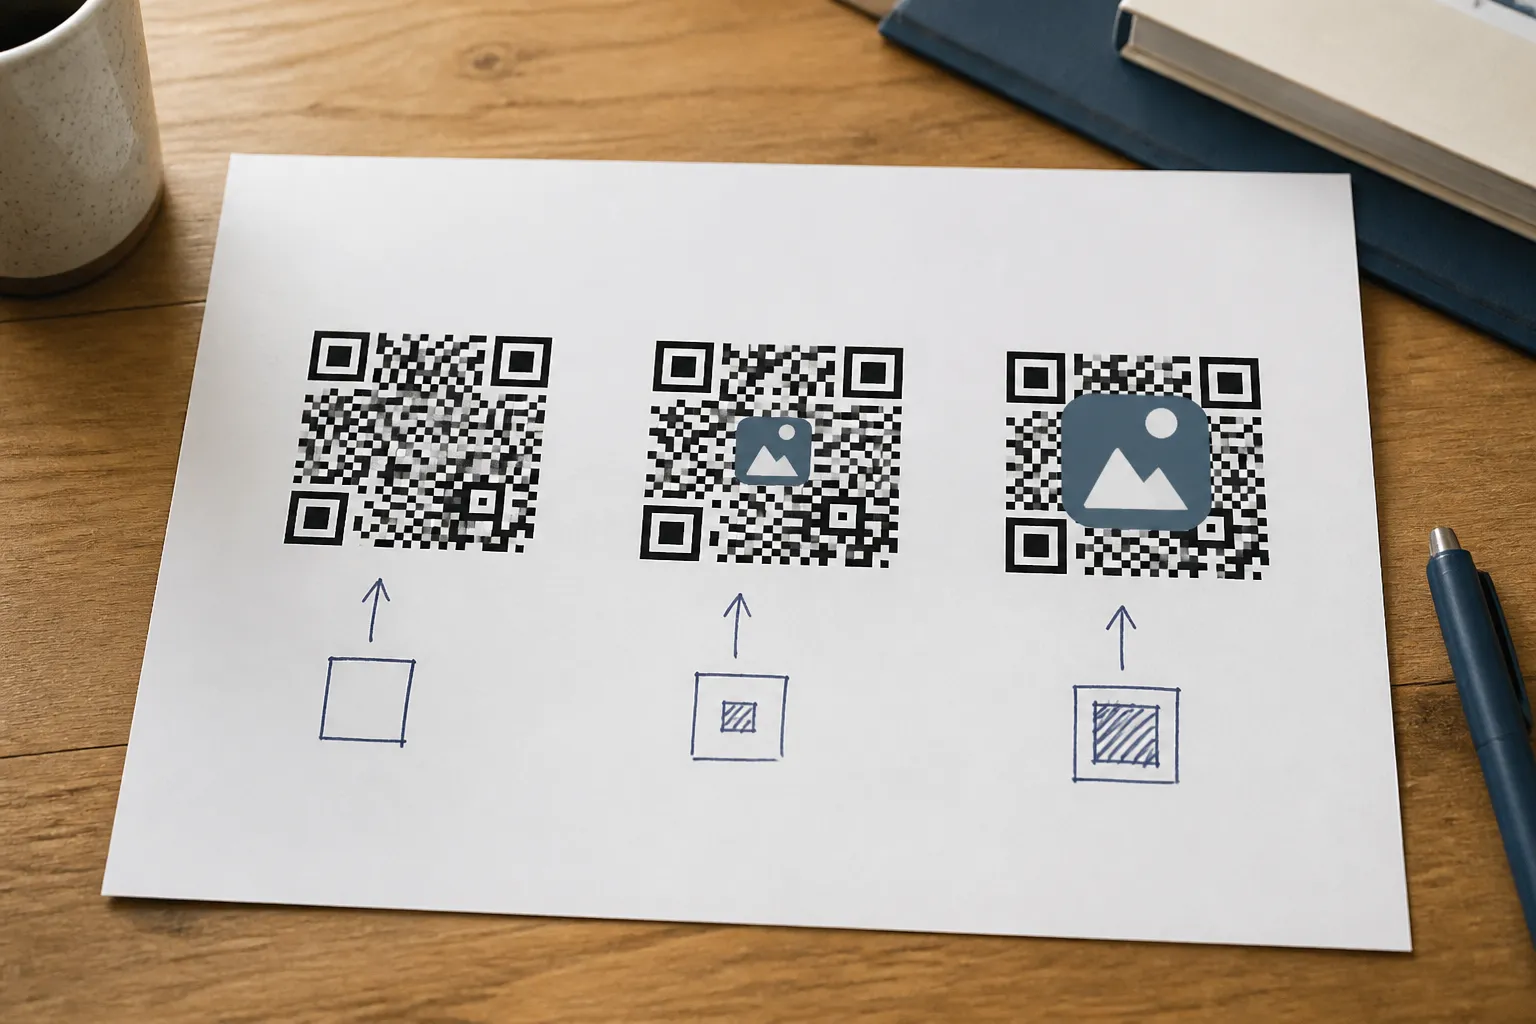
Here is how a careful maker actually lands on a size. She generates a short HTTPS code at Q correction, sized at 40 millimeters wide. She scans the plain file first to confirm her baseline. Then she adds a center mark covering about 20 percent of the width, prints it on the real matte stock the job will use, and scans it from several angles and distances under normal room light.
That works, so she gets greedy and tries 28 percent because it simply looks bolder. Two older phones in the drawer start hesitating, taking multiple tries or failing outright, exactly the kind of failure covered in why QR codes sometimes fail to scan. So she does the disciplined thing and returns to 20 percent, choosing the size that scans everywhere over the size that looked best on the biggest new screen. The larger logo was not worth the customers whose phones could not read it.
Sometimes the best logo is beside the code
It is worth asking whether the mark needs to be inside the code at all. Branding can live in the space around it: a clear heading, your brand color in the surrounding type, and your real domain printed plainly underneath. That establishes identity without spending a single module of reliability.
If a center mark adds little genuine recognition - and a tiny, half-covered logo often adds almost none - take it out. The code will scan more reliably, and no customer has ever failed to buy something because the QR square lacked a logo. Plenty have given up because it would not scan. When style and function disagree on a QR code, function is the one that has to hold your customer’s phone.
Sources and further reading
Create the code you need
Use HighEndDIY’s private browser tool, then test the result in the setting where people will scan it.
Create a QR CodeFound something that should be corrected? Email help@HighEndDIY.com.