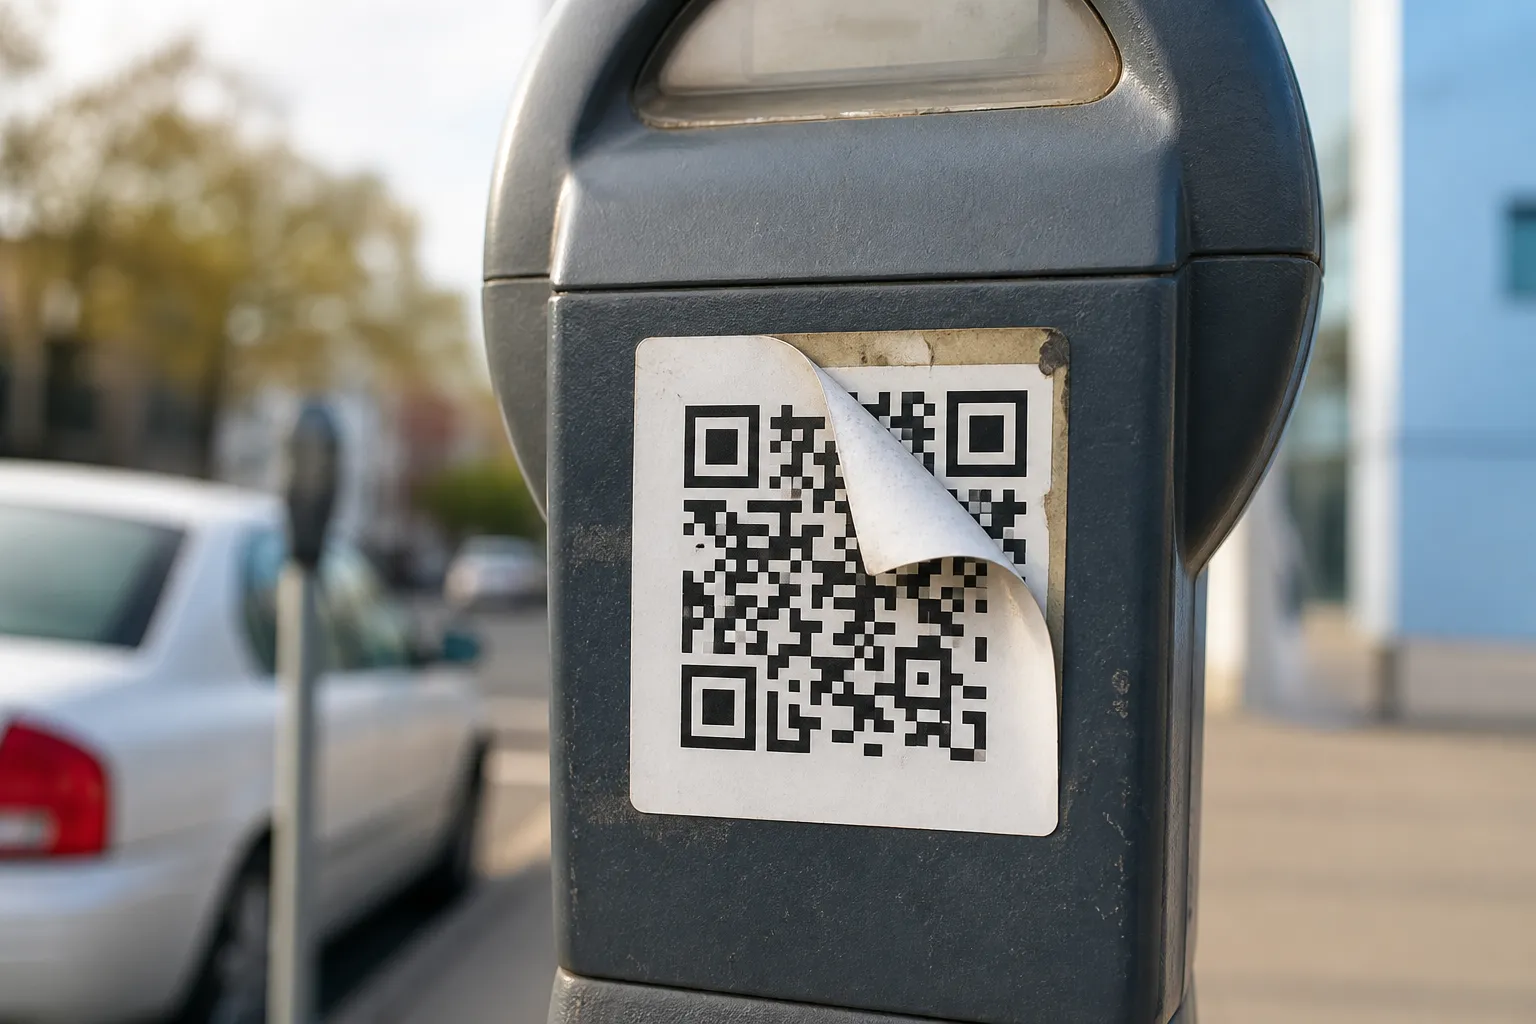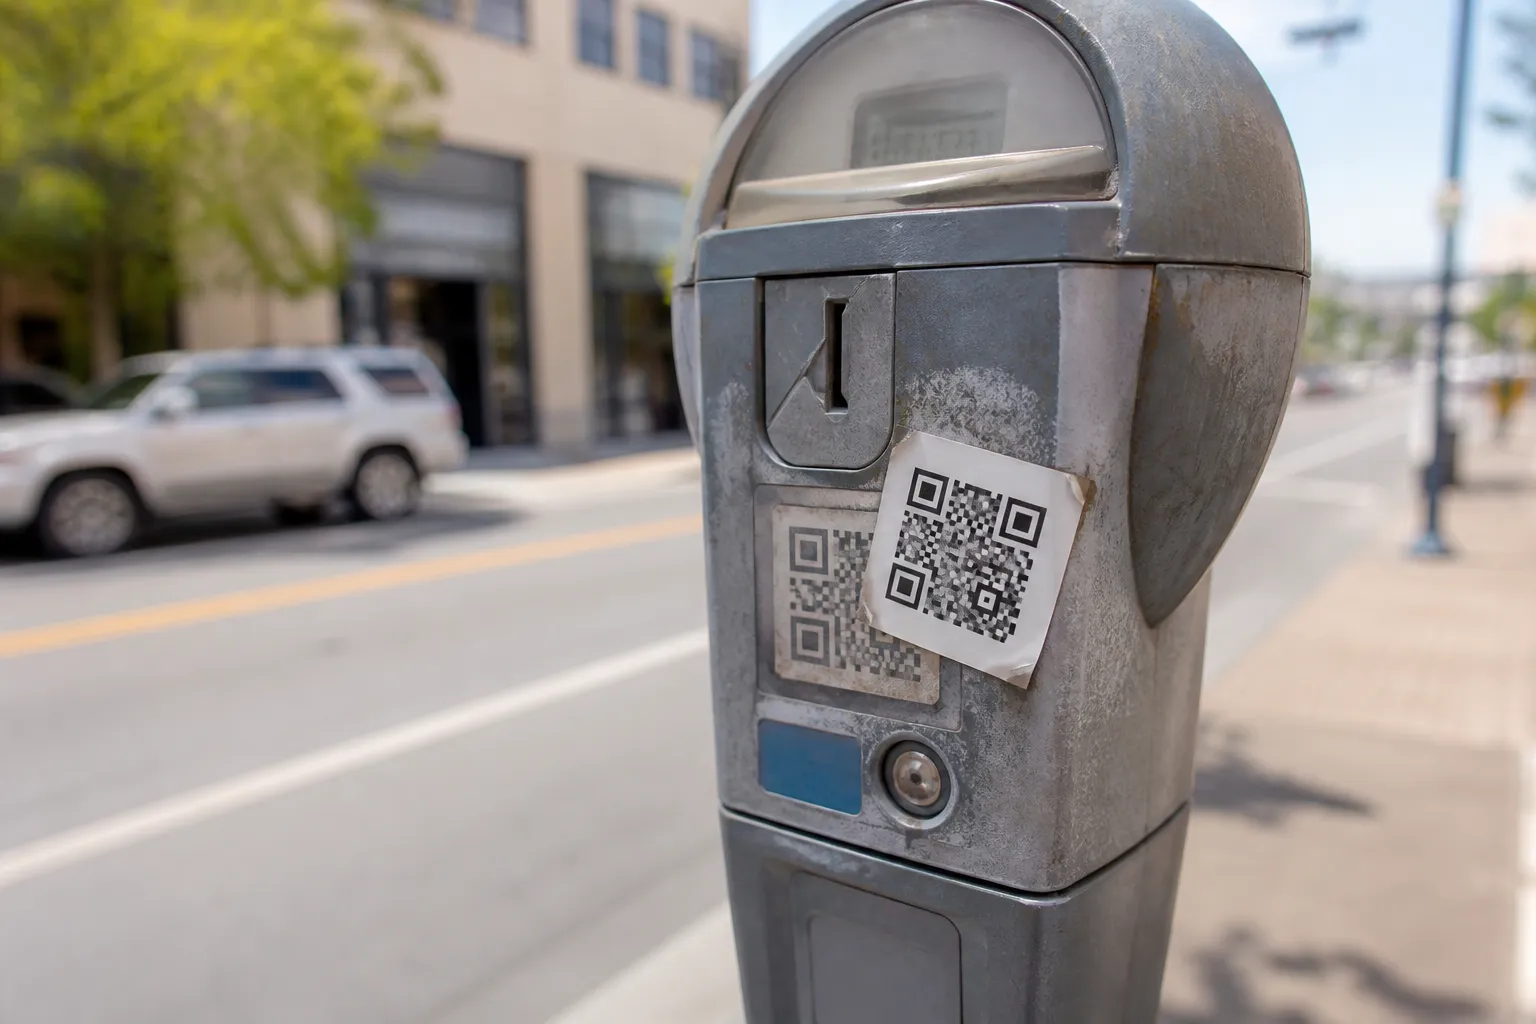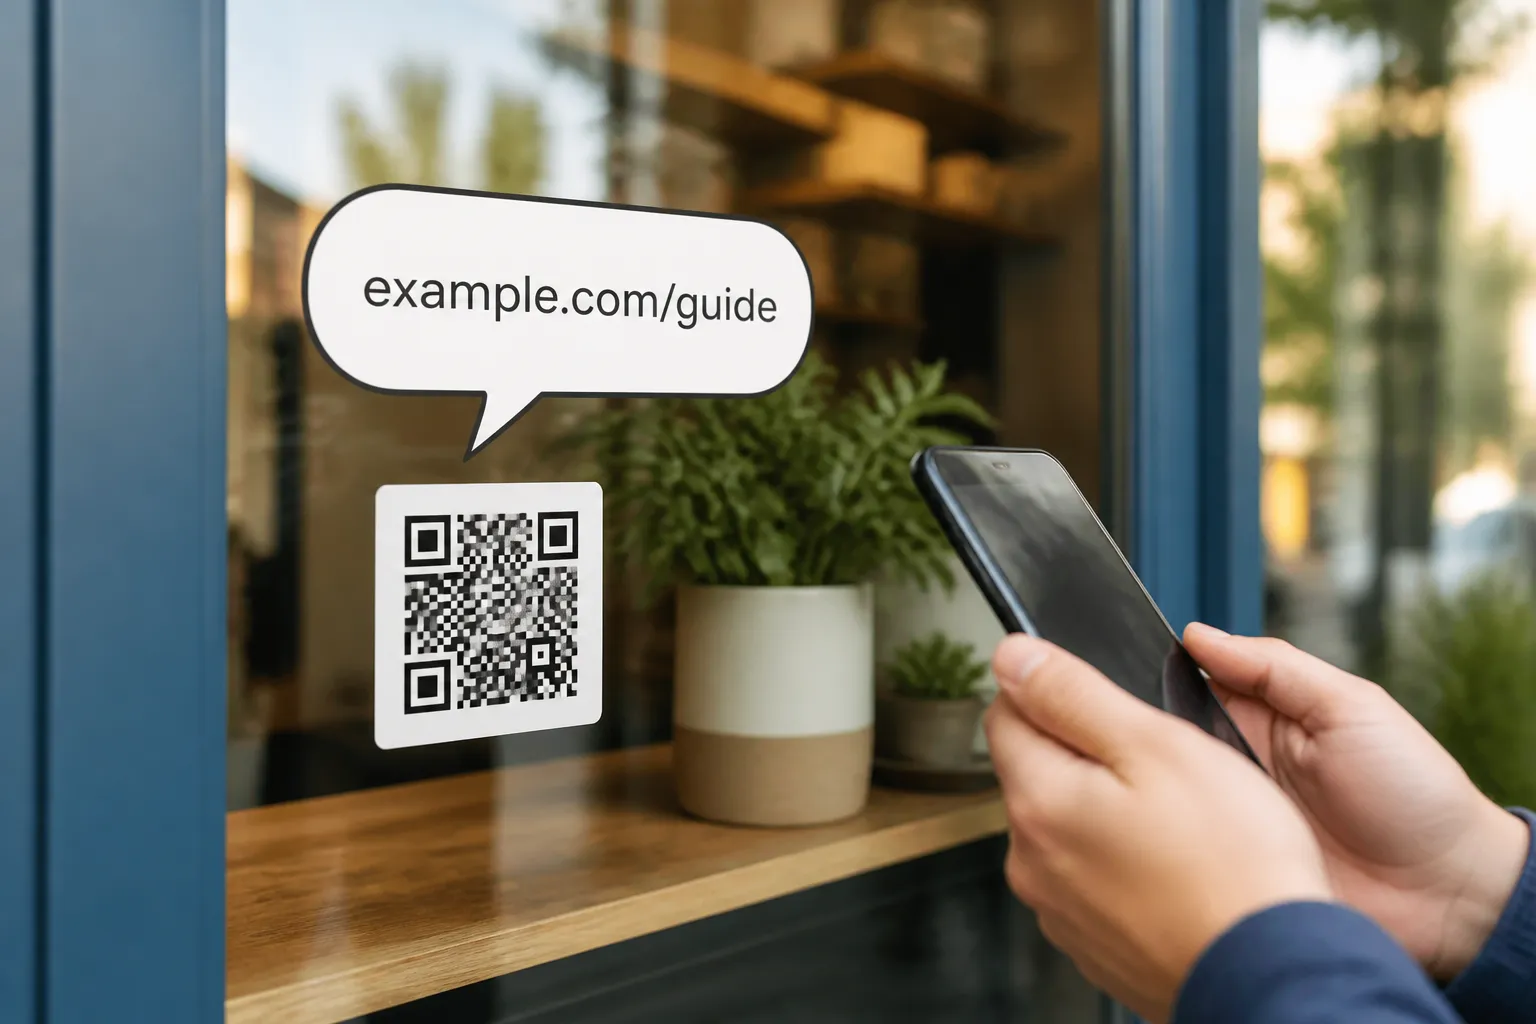
The most expensive QR-code mistake I have seen cost a regional retailer a full print run of 4,000 posters. Every team had done its job. Design made a gorgeous code. Marketing wrote a sharp call to action. The web team built a fast landing page. The problem was that nobody scanned the actual printed poster on the actual gloss stock under the actual store lighting until the boxes arrived, and the glare across the laminate broke roughly one scan in three. Each team had approved its own slice, and the slice nobody owned was the whole.
That is what a pre-launch checklist is really for. Not as a bureaucratic gate, but as one structured conversation that forces the separate approvers into the same room before anything goes to print. Treat what follows as a script for that conversation, adapt it to your campaign and the cost of failure, and write down who approved each area and what evidence they actually looked at.

Purpose and destination: does the code earn its place
Before anything technical, confirm the code solves a real visitor problem rather than decorating a poster because codes look modern. The visible call to action has to describe what actually happens - “View the summer menu” tells the truth in a way “Scan me” never does - and the destination it opens must fulfill that promise immediately, on a controlled HTTPS domain you recognize.
Two things people forget under deadline pressure. First, there must be a useful route that does not require scanning at all, because some visitors cannot or will not use the code. Second, anything required, urgent, priced, or safety-related should stay readable without a scan. A code is a convenience layered on top of the essentials, never the only door to them.
Payload and design: what the pattern really holds
Decode your finished code and read what comes out, character for character, against the approved source. It is unnervingly easy to ship a beautiful code that points at a staging URL, a typo, or last month’s campaign. While you are in there, strip any personal or tracking junk from the URL that does not need to be public.
The technical settings are a system, not a menu of independent choices. Error-correction level, module density, physical print size, and any logo all pull on each other, so evaluate them together rather than one at a time. Confirm the code still has genuinely dark modules, a light background, and an intact quiet zone, and that nobody along the way stretched, cropped, blurred, or heavily compressed it. Finally, check the export format matches the workflow: a vector file for scalable print, a fixed-resolution raster for a known digital size.
Privacy, security, and access: the parts legal remembers later
Map where the data actually flows: the generator, any redirect service, the page host, server logs, analytics, advertising tags, form submissions, and every vendor in that chain (see privacy considerations for QR codes for the full map). Your consent notices and privacy language have to match the real regions and real purposes, not a template someone pasted in. And no private credential or personal token belongs in a public pattern, because a public code is readable by anyone with a camera.
Security extends past the pixels. The accounts that control the destination and any dynamic redirect should use strong authentication and tight access, since a hijacked redirect turns your trusted code into someone else’s weapon overnight. Public signs need a named owner responsible for inspecting them for tampering and knowing how to respond. And both the destination page and the physical placement should have passed a real accessibility review, not a glance.
Production evidence: prove it on the real material
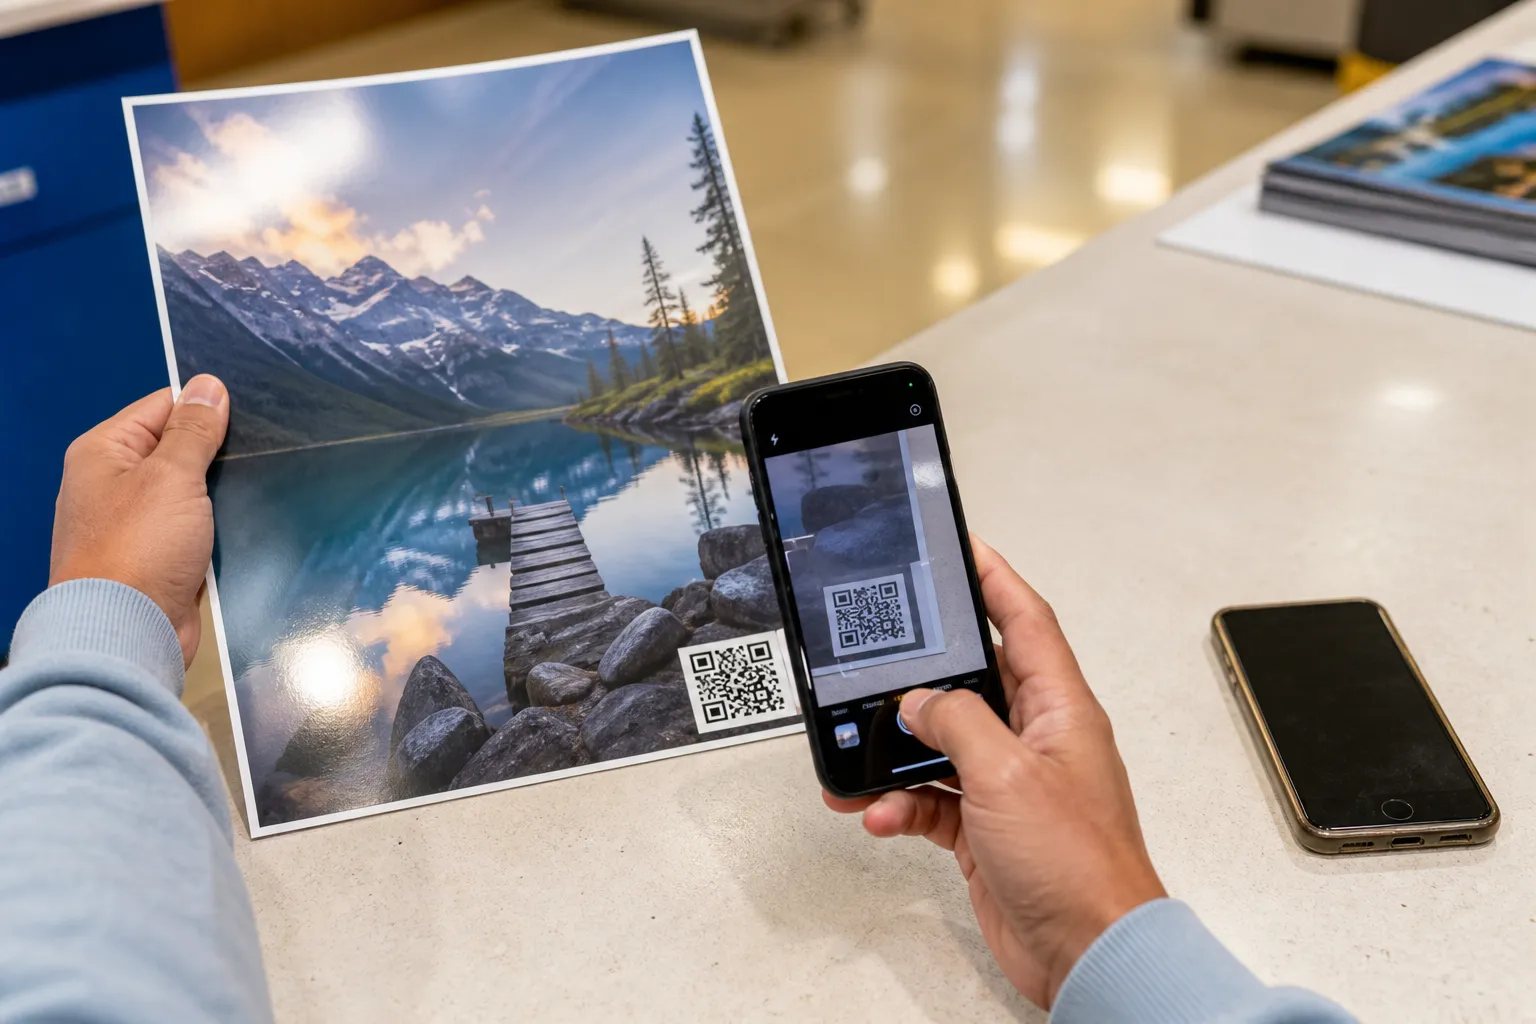
This is the step that would have saved that retailer, and it deserves its own testing process rather than a rushed final check. Produce a proof on the real material and finish the campaign will use, or the closest equivalent you can get. Then scan it with several representative devices - deliberately including an older phone, not just the newest one on the team - under the light, distance, angle, and network conditions a real visitor will meet.
Include the physical reality in that test: the lamination, the fold, the curve of a bottle, the way the sign mounts on a wall, and any busy artwork crowding the code. A code that scans flat on a desk can fail wrapped around a can or catching a spotlight. When it passes, record the exact artwork version, the encoded payload, the destination, and who signed off, so there is no argument later about which file actually shipped.
Operations and retirement: plan for the code’s whole life
A campaign is not finished when it launches; it is finished when it is safely retired, and most teams plan only the first half. This matters even more for a time-boxed rollout like event check-in codes, where the code’s usefulness ends the moment the gates close. Give the destination and its content a named owner who monitors them. Make sure support staff know the fallback and what to do when a visitor reports a failure. Set the campaign’s end date, its review date, and its record-retention date now, while you are still thinking clearly, not in a scramble a year on.

Old signs and files need a removal or archive plan, because a code left up past its life is a liability with your name on it. Above all, decide what the end-state page does when the campaign is over. A retired code must not silently redirect a trusting visitor to an unrelated or, worse, expired-and-repurchased destination. The safe end state is a clear, honest page that says the campaign has ended.
What good sign-off looks like
A public workshop I admire keeps a single-page launch record for every campaign: the final URL, a checksum of the code file, a photograph of the print proof, the device test matrix, the accessibility findings, the privacy decision, the installation locations, the named owner, and the removal date. It fits on one sheet.
The value shows up when something breaks. Instead of five teams pointing at each other, anyone can open that page and know precisely which artifact and which person to consult. Before you rely on this checklist for a real launch, run it against one genuine test campaign, note where it left gaps, and revise it. Then have your legal, privacy, security, accessibility, and production specialists each review only the section they are actually qualified to judge. The checklist is a conversation, not a guarantee, and its job is to make sure the slice nobody owned finally has a name next to it.
Create the code you need
Use HighEndDIY’s private browser tool, then test the result in the setting where people will scan it.
Create a QR CodeFound something that should be corrected? Email help@HighEndDIY.com.